|
Last update, March 10, 2010
Main Boom Rigging

Supplier Internet Information
SailSetc parts (SE) and
all from
Midwest Model Yachting (MMY)
Part photos can be seen there.
Parts:
Combine this list with jib boom
parts
1 - Main boom kit 625 mm with fittings, MMY #100M.
Comes with #160
attachment kit. Parts needed in this kit.
listed here
individually for stocking reasons.
1 - Hook, MMY #178 ten pack total for booms.
1 - Track slide and sheet hook, MMY #82S (boom
kit).
Track slides come with
cap screw length for what they do.
1 - Additional #82S for the Cunningham.
Sheet attach point, MMY #80L (boom kit).
Track slide for clew hook, (boom kit).
1 - 3 meter coil of 3/64" wire for hooks, MMY #214.
1 pair - mast mounts for the Groovy mast, CPM or
with
gooseneck and vang assemblies from RMD or MZ.
1 pair - Du-Bro 2-56 swivel ball link, Tower Hobbies
LXD910. 12 pack LXAPC4.
1 - Vang only, no assemblies. CPM (maybe special
order from RMD or MZ.
Screw stock.
Supplies:
Blue tape
Tools:
Metal saw blade
Drill and/or drill press with bits
Small file set
Metric ruler
5/64" ball hex tool. Get a good one for
this will be your adjusting tool at the lake.
Small hammer
Screwdrivers
SailSetc parts are finely machined, excellent
extruded aluminum parts and all well engineered for interchangeability. They are made
for several classes but much is adaptable to the EC12. The booms are used here
because they provided the controls needed, are easily installed and easy to
adjust. The rigging of these booms takes far less time than the arrow shaft
counterpart. Removing are installing the mainsail is very fast. However, all of this convenience
has a cost, of course.
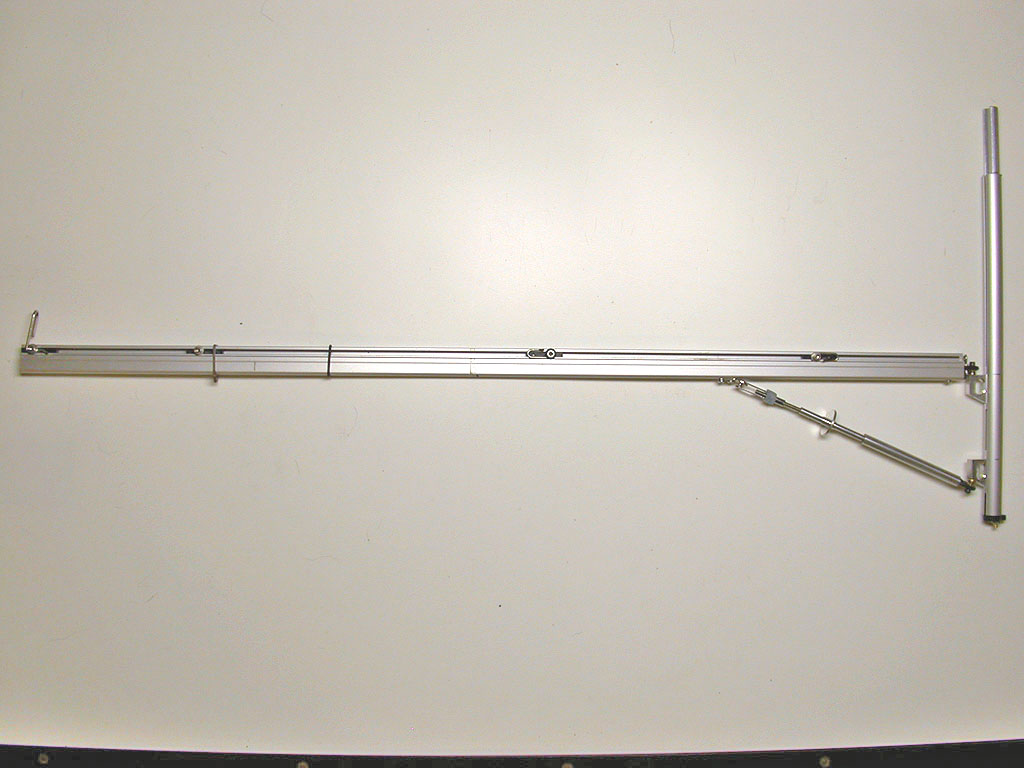
Boom Construction
Look over the parts and the drawings that come
with them along with the photos here. It is straight forward with little
innovation for the EC12.
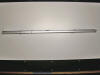
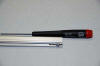
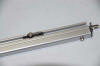
The boom arrives 625 mm long. Cut this to 555 mm
and clean the edges with a small file. Save the cutoff piece in your shop scrap.
The Gooseneck Assembly
After the cutting of the main boom, this is a
good place to start. This gooseneck has been adapted to incorporate the Cunningham
(downhaul) that will be attached to a mount on the mast. This design is
paired to a solid compression vang mount in this presentation.
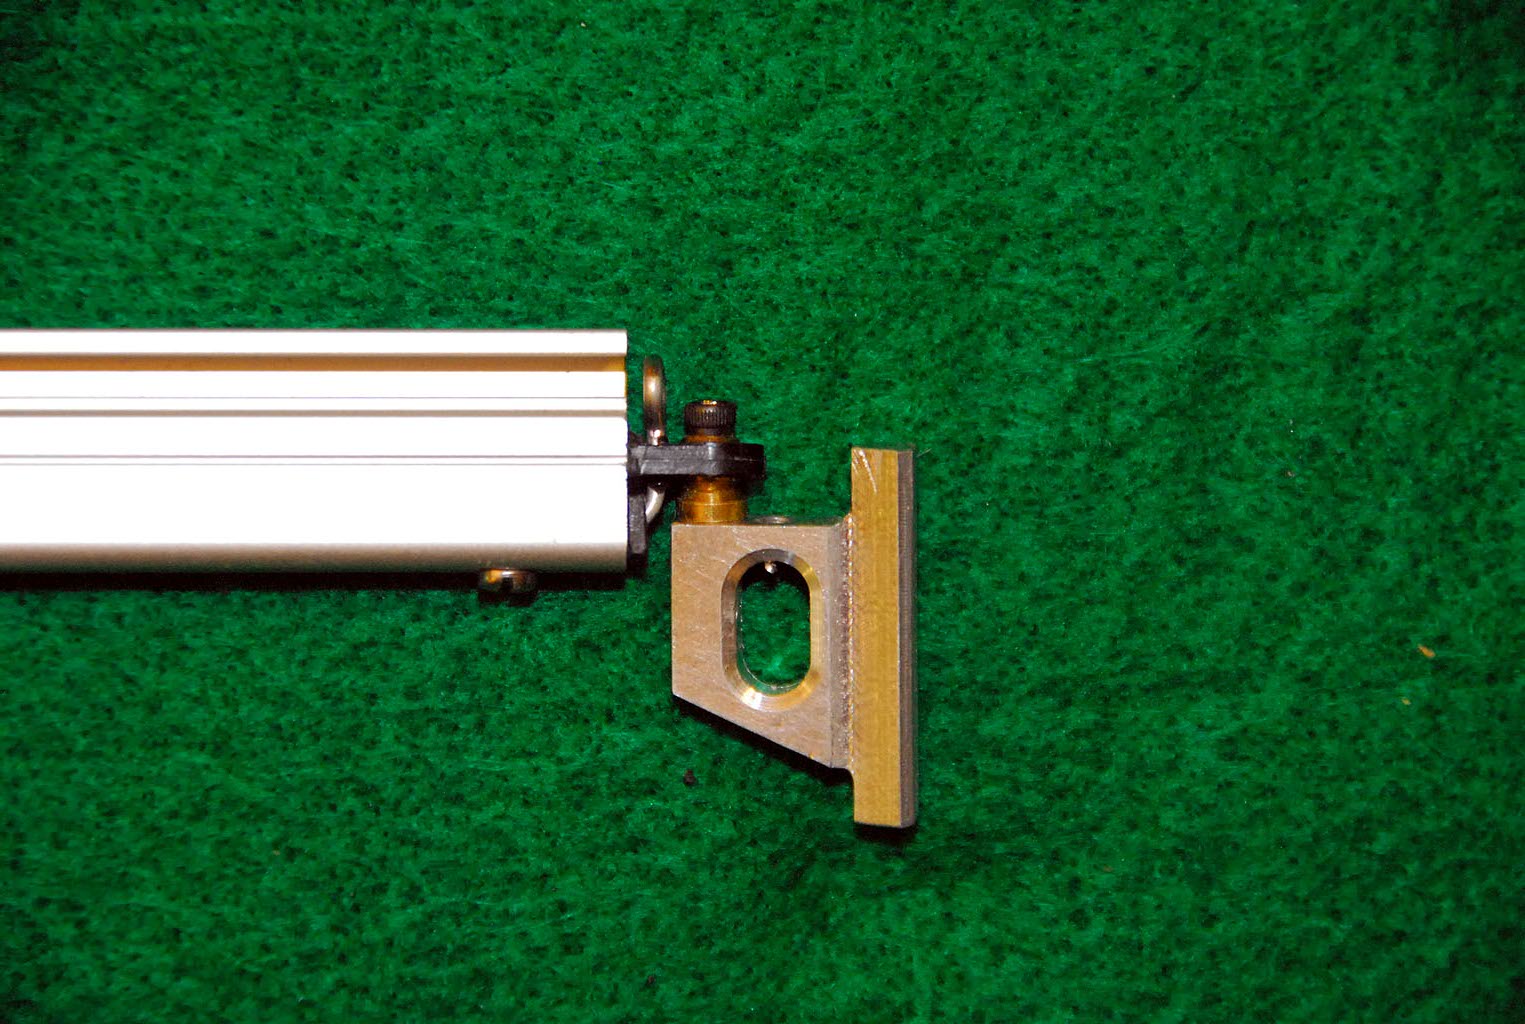
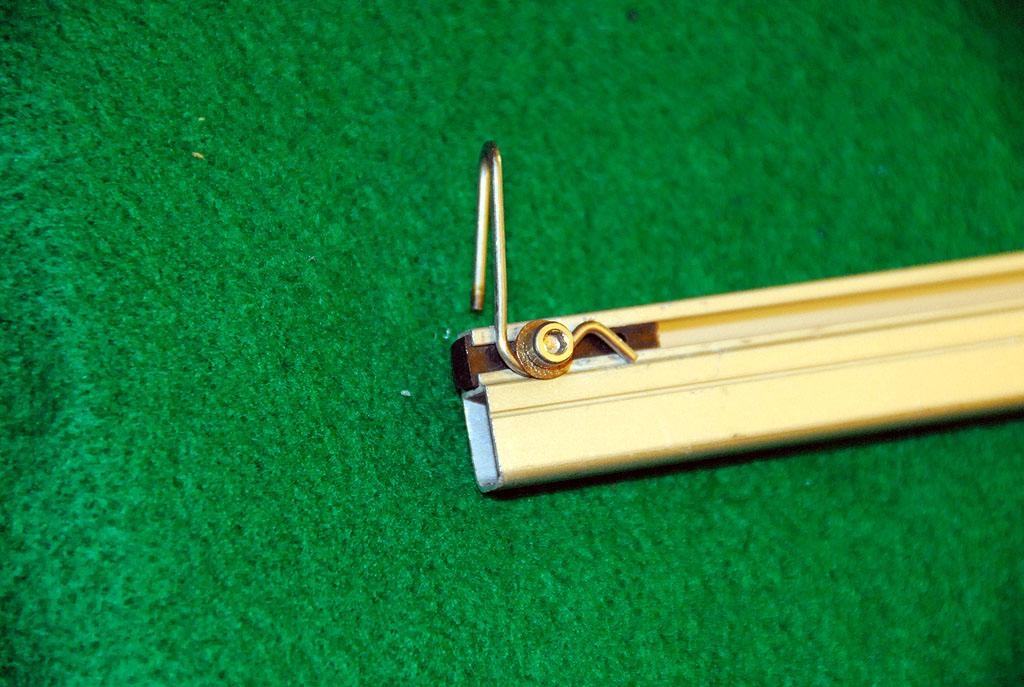
Set Up:
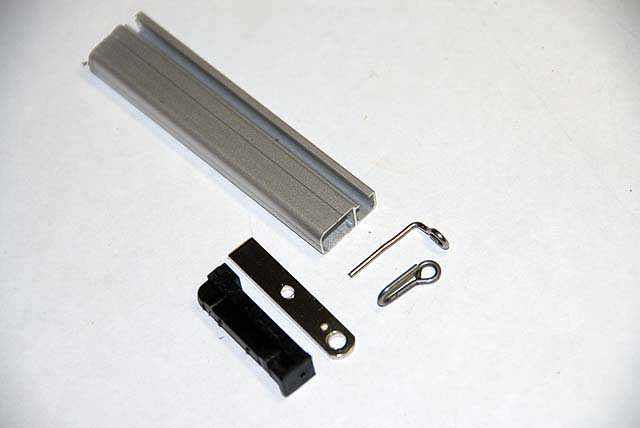
The Cunningham line guide
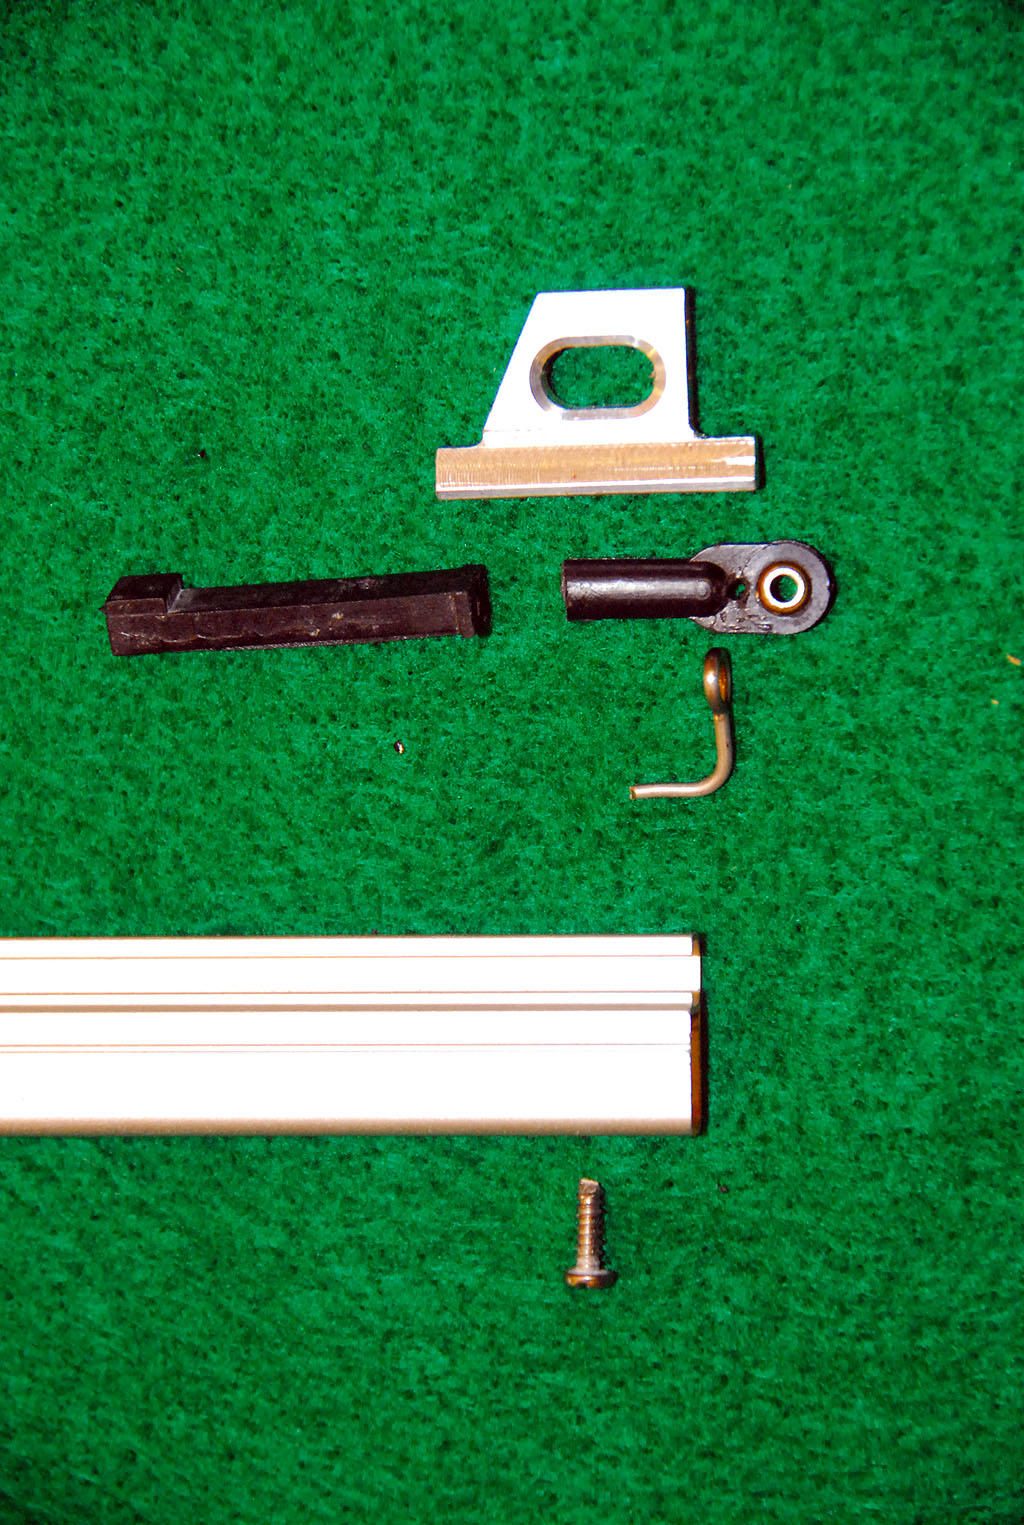
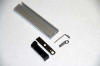
In the boom kit is an IOM kit #160 with stuff for
the boom. Find the gooseneck insert (black) for the boom and slip it into one end of
your cutoff scrap piece of boom. A hole will be drilled into the flush end of the insert just below
where the gooseneck swivel ball link will go. A hole will be drilled in the
swivel ball link where the shank section flows into the flat on the link
mount. These holes are to fashion a Cunningham line guide for the mainsail
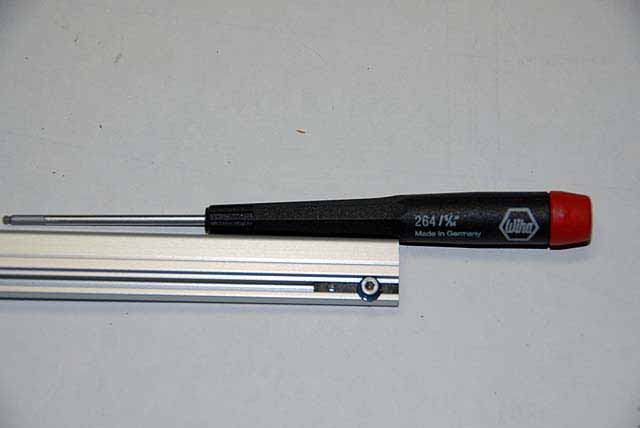
from a #178 hook. A line will tie at the tack grommet pass through the eyelet,
around the mast and back through the eyelet and connect to a #82S track slide adjuster on the
boom with a loop. This adjuster, and all on the boom, will be loosened and
tighten with a 5/64" ball hex tool shown here.
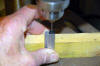
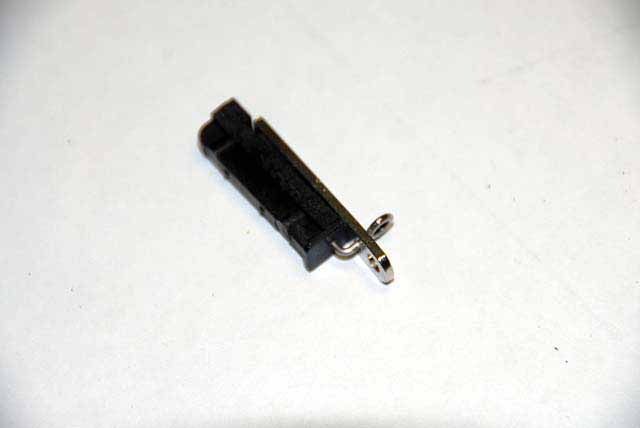
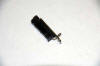
The use of the boom section to hold and drill
a hole
in the insert. This to stand it vertical if using a drill press. A #55 bit was
used for the hole and about 1/4" deep. You will note there is a little
nail brad
in the slot to hold the insert still while working with it. If you are building
more than one rig or stocking parts, drill them all while you are set up.
Using the same bit, drill a hole through
the swivel ball link as close as you can to where the shank of the link
flows into the flat.
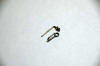
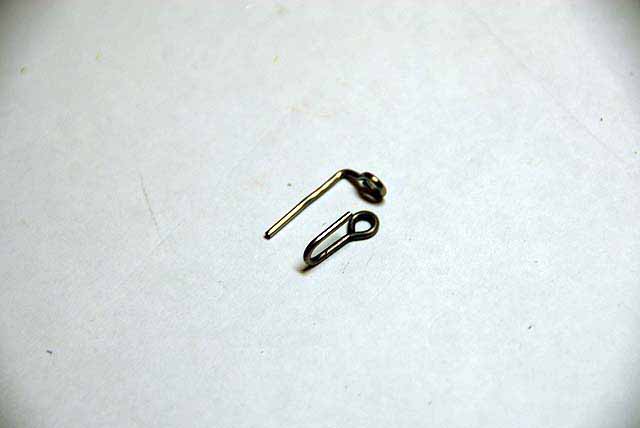
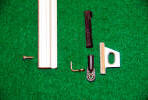
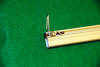
Take a #178 hook and straighten it like the
one in the photo. A small hammer on the plate of a vise does nicely.
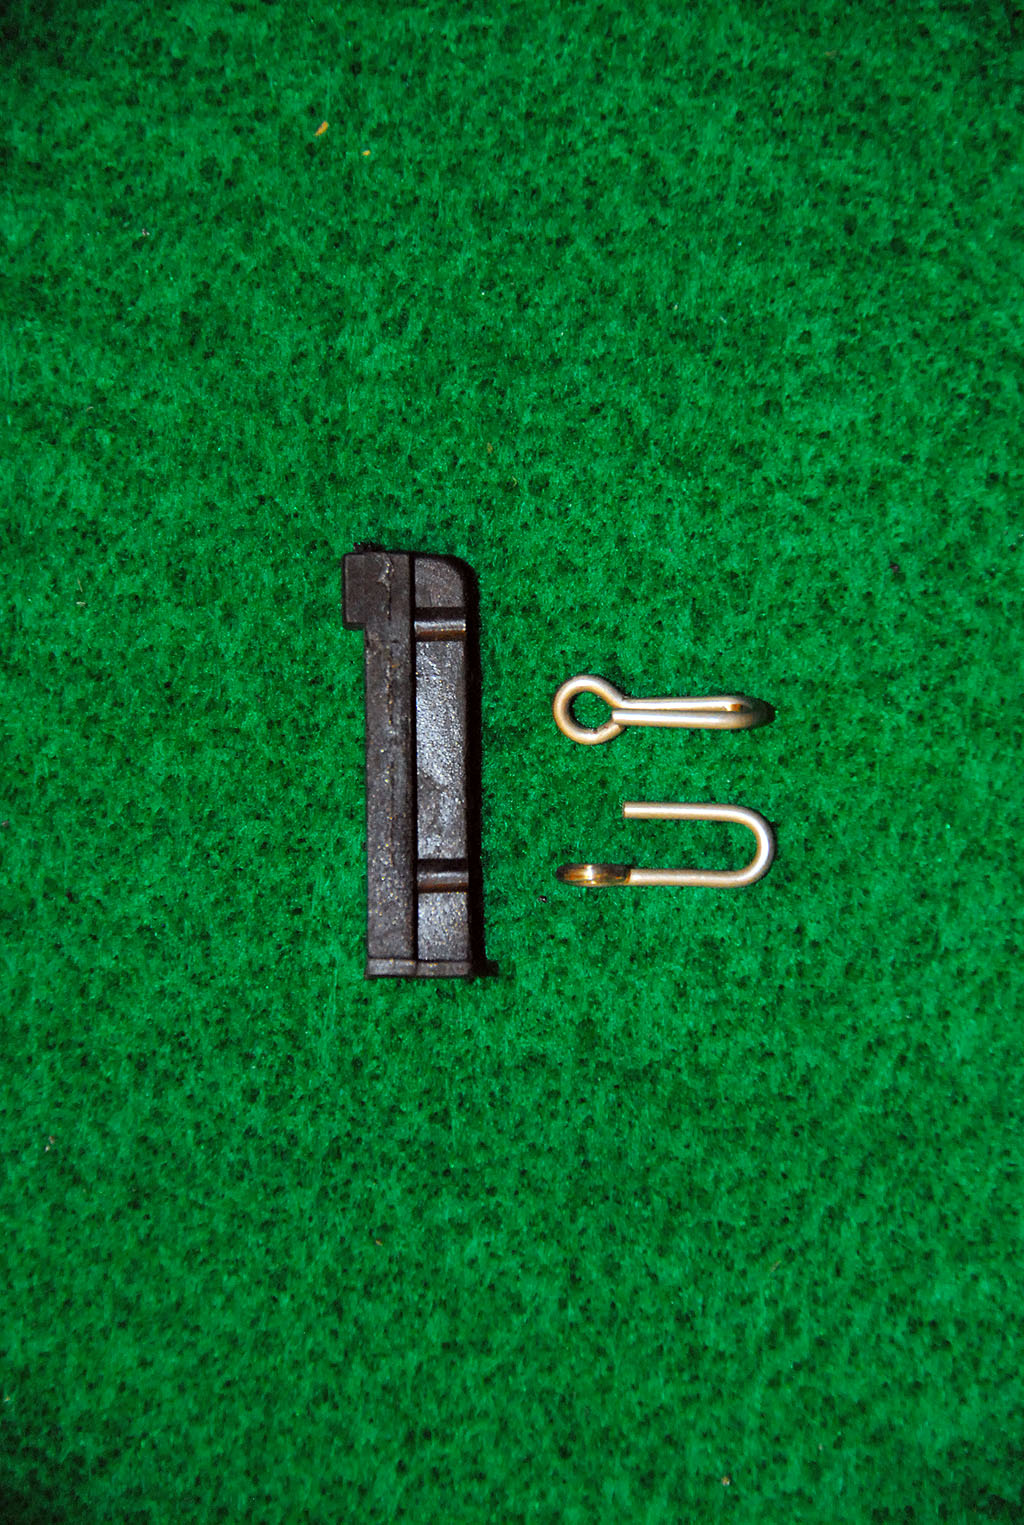
Now, shave off the narrow vertical part
under the insert where the horizontal hole is not. This is to
make room for the shank of the swivel ball link when inserted into the
boom.
Now; bend the straightened hook, that is
now a eyelet guide, so the eyelet will be in the upper section of the
boom extrusion, pass through the ball link and then into the hole on the
insert...close is good enough . Trim as needed.
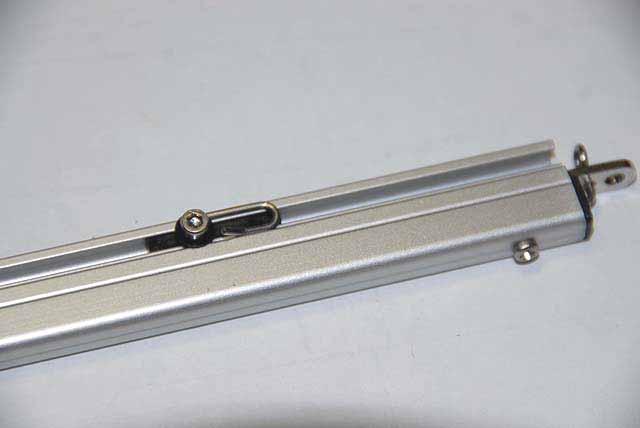
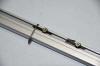
Assembly:
Insert a #82S track slide and hook into
the mast end of the boom with the hook facing forward and lock it out of
the way. This will be the adjuster for the Cunningham.
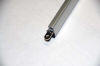
Okay, fumble fingers, here we go. Pass the
eyelet shaft through the ball link and rotate it to fit into the hole on
the insert. Snuggle it up. Slip the whole thing into the boom. A little
force may be needed and that would be good just do not damage the ball
on the swivel. The shaft of the eyelet should be a bit forward so the
line coming down from the tack grommet will not chafe on the boom.
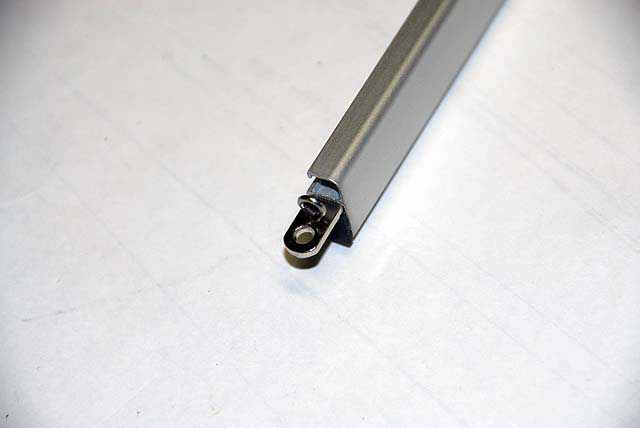
Pilot drill for a 3/16th inch #2 tapping
screw from the bottom of the mast into the insert and just a portion of
the shank on the ball swivel. This is for security. Do not pass into the
boom extrusion above it.
Cool. Looks pretty good, eh?
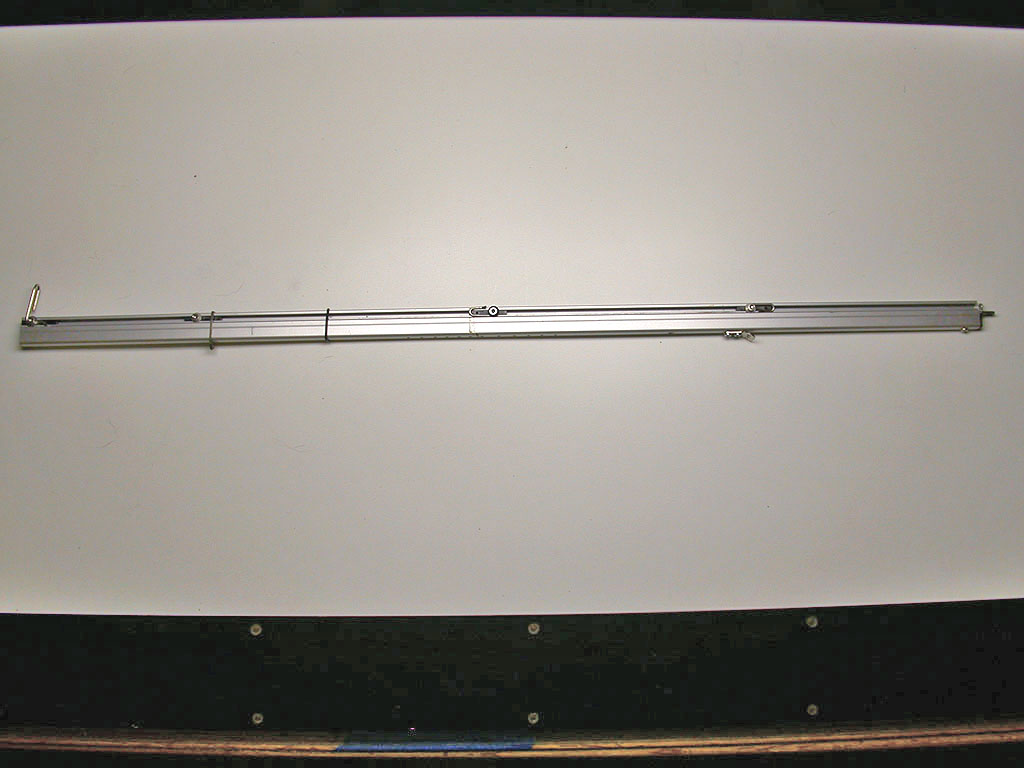
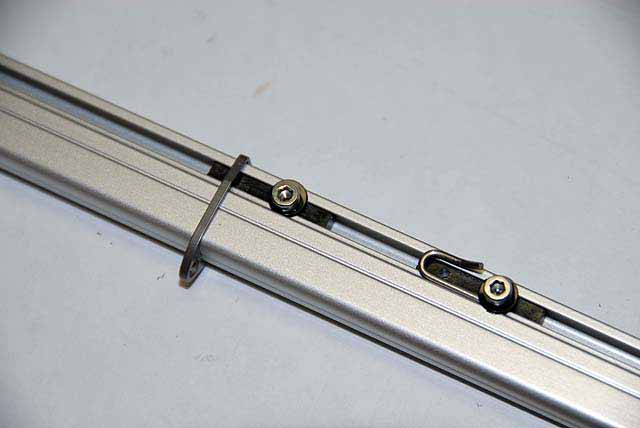
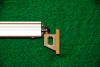
Main Sheetline
Install another boom track slide with a sheet
hook from your stock. This will point aft toward the sheetline guide and
will be the sheetline adjuster. The slide track with the
guide is called an adjustable sheet attachment point (Whew!). It comes in
the boom kit and will slide on from the aft end of the boom also. You will have
to press the guide tab into the track slide hole for it all to fit on the
boom. You will find all these parts have close tolerances and are secure
when installed. Because these are
adjustable we will not worry with where they go for now.
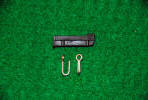
Clew Connection
There is a track slide and sheet hook in the
boom kit. However, for the EC12 and the foot round of the sail, the hook
will not reach the grommet without much sail dragging across the boom. You will need to make a longer
hook. In the parts list above
is #214 wire stock for this purpose and will be useful elsewhere. We will fashion a hook to attach the
clew of the mainsail later when the sail is on the spar. Park the slide with the
longer screw on the boom for now.
There is more work to do with the boom. We will prepare and install the main boom in
the Rig Assembly section and take care of there.
You are done here, today.
|