Last update,
December 15, 2002
Building shown in this section is for reference in the Classic Build. Some links may no longer have a source and suppliers may not exist...Rick West, December 2009
Jib Trim Servo
Parts:
Servo: A heavy duty with 100 to 135 torque units. Servo City
#164 (Pekabe 512) deck block, 1, Great Basin, RMG and Houtz
CL connectors, medium, Stock Item
Control arm, 1.5 or 1.25 inch, DuBro set
.064 aluminum strips, Stock Item
4-40 SS Phillips machine screw, 3/8", Stock Item
4-40 SS Nylock nuts, (14), Stock Item
#4 SS washers, Stock Item
2-56 x 3/8" Phillips machine screw, Stock Item
2-56 nylon nut, Stock Item
Servo extension with Futaba connector, Servo City.
Tools:
Phillips screwdriver.
Pliers or a socket driver.
Drill and bits.
For the RMG Board
The 9303 is a 99 inch ounce torque servo that has served us well in the most demanding conditions. It has metal gears and bearing shafts. You pay for that in weight and cost but it will give you good service.
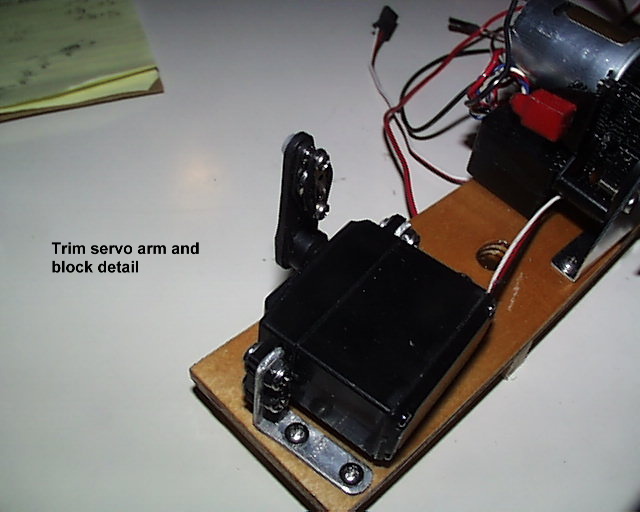
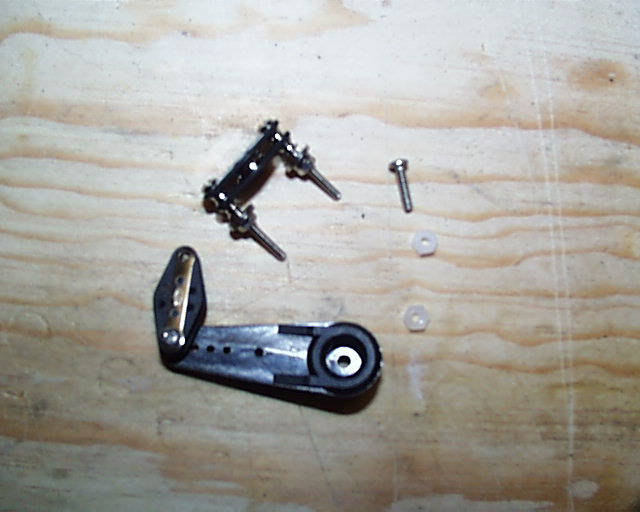
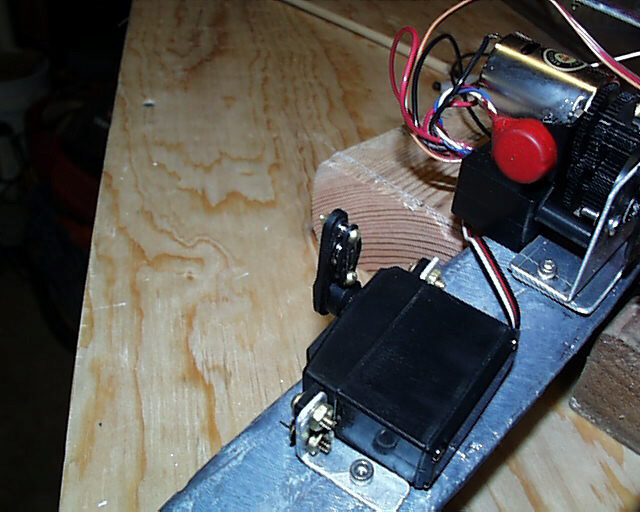
Remove the metric screws from the Pekabe block and replace them with 3/8" 2-56 screws. This will take some diligence as the fit is not just right. It will help if you hold the block intact when removing the metric screw and threading the 2-56 screw through. Now drill a hole to fit the screw at the top of the control arm with a #43 bit. Mark for the other hole and drill it. Mount the block on the control arm inward, facing the servo as shown here. Secure it with the nylon nuts. Don’t over tighten.
Make the aluminum strips into "L" mounting brackets and drill holes to fit the 4-40 screws at the servo end. Drill two for each base where it will mount to the board. (If you are mounting directly to the lead ballast, drill the base for a 6-32 cap screw.)
Install the brackets to the servo. Put the arm onto the servo and put it away till the equipment board is assembled. The arm position will be calibrated then.
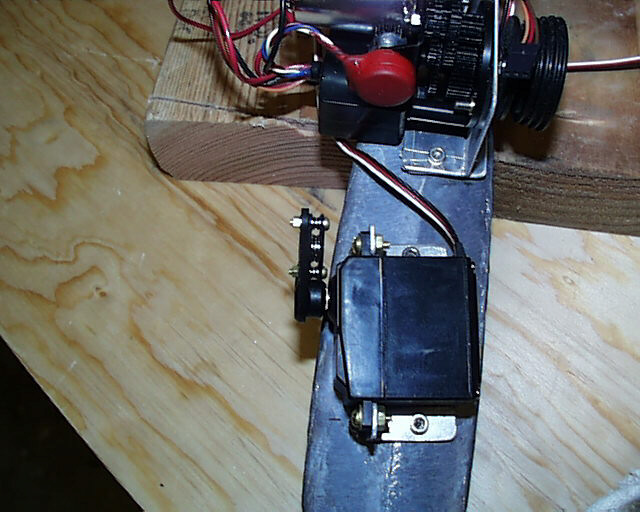
Swing Arm Board
Use the same 9303 servo and arm. Drill a hole with a #30 bit in the top hole of the arm. Install a CL connector to the arm. That's it!
Note: Do not use the S3003 as shown. It was available for the photo op and is not strong enough for this application on the EC12.