Deck Clean Up
![]()
![]()
![]()
![]()
![]()
![]()
![]()
|
Deck Clean Up
|
|
Last update, January 16, 2008
Deck Clean up and Finishing
Parts: None
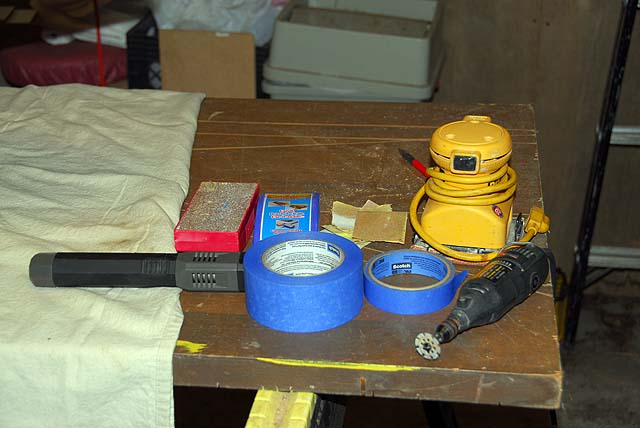
Supplies: Sand paper MEK or Acetone Rags Blue tape
Tools: Dremel and cutoff diamond saw blade Orbital sander 5" Nicolson file Shop Vacuum
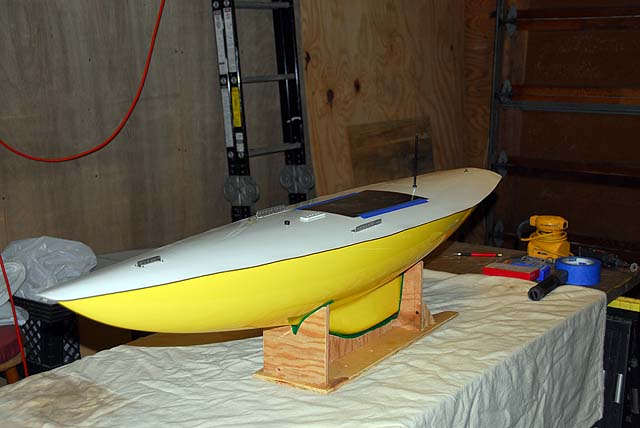
This is outside or garage work. The deck is cleared of the sand bags and put the bench back into normal mode.
Remove the paper towels from the interior of the hull.
Remove any wood hull expanders there might be.
Remove the dental floss that was holding the deck beam width. This floss will not stick to the goop and with some urging will pull out. You will be able to reach fore and aft to all of them. You will figure it out.
Tape a cover over the hatch opening.
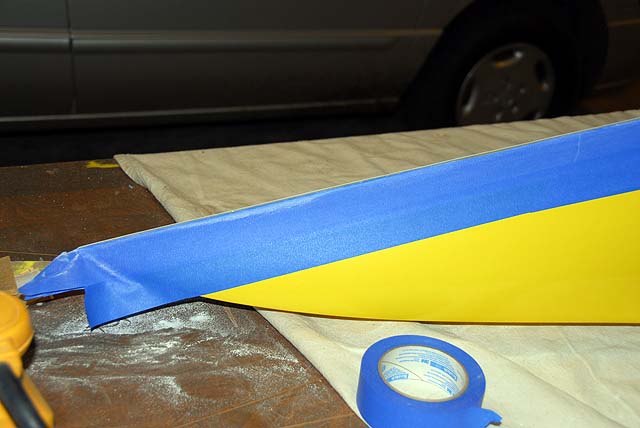
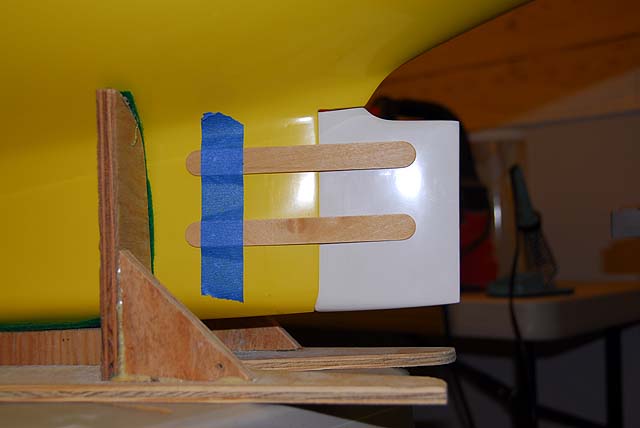
Move the boat to a ventilated area. Prepare a padded table for the boat, as it will be out of its cradle at times. Lay the boat on its side and tape the seam between the deck and the hull sheer, tighter than you did with the seal. Stack this with three layers. This will be a sanding buffer. Here our normal stock is 3/4" tape with some 1/2" around is used. Be sure to get the under deck section at the transom. This will be the hardest to do cleanly in the sanding. It is also the one to be more careful with to not mar the transom.
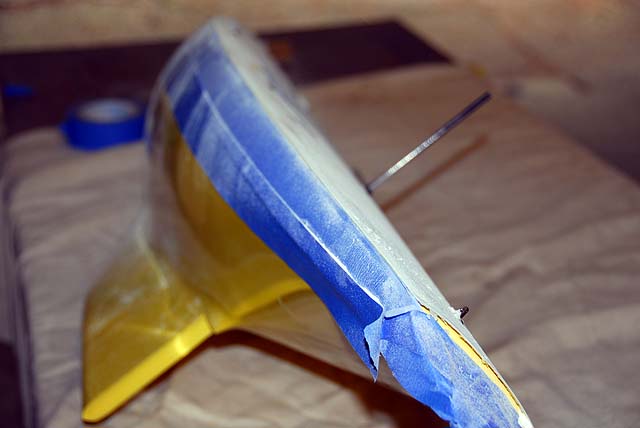
With a Dremel and a diamond wheel, as shown, cut off the majority of the overhanging deck. Be careful, the tape will not save you. Cut from the bottom on the sides. Be extremely careful across the transom not to score it. Then move to the sander with 60 grit along the sides at angle till you touch the blue tape. Do this all around and be extremely careful at the transom with the high angle. You can do this with the file if you wish and it will work fine but longer time to reach the desired effect.
The bow and transom should be sanded individually and multiple re-taping.
Remove the tape and re-tape. From this point use a sanding block or by hand. Angle the sanding a bit. Finish the outdoors work with 400 grit. Feel and sand...feel and sand.
Move back to your normal working area and wet sand the edge of the deck and the upper side of the hull till it is smooth to your fingers. Remove the cover for the hatch area and clean it up. Wipe the whole boat with MEK or Acetone.
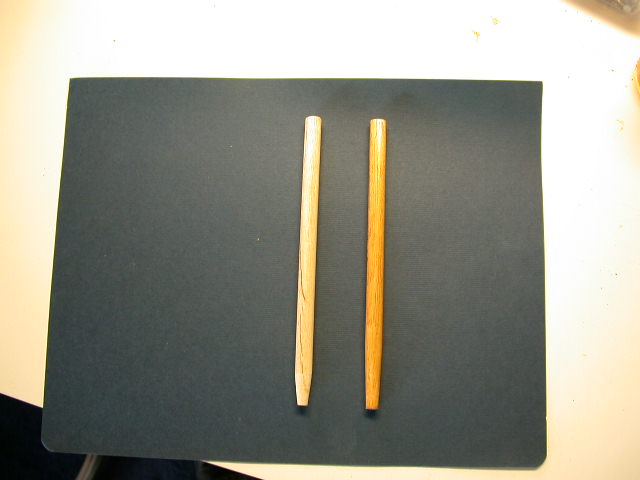
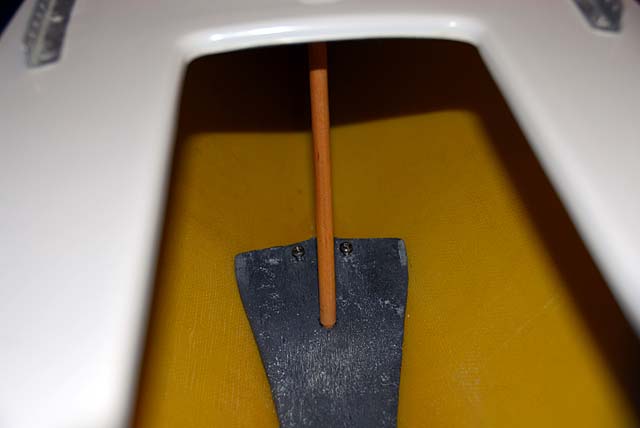
The Finishing Size a 3/8" dowel for the removable compression strut. Be sure to do this testing fully in the underside deck chock. MinWax the strut if you have not already and put it aside. It will be several days before it is safe to leave the pressure of the strut in place.
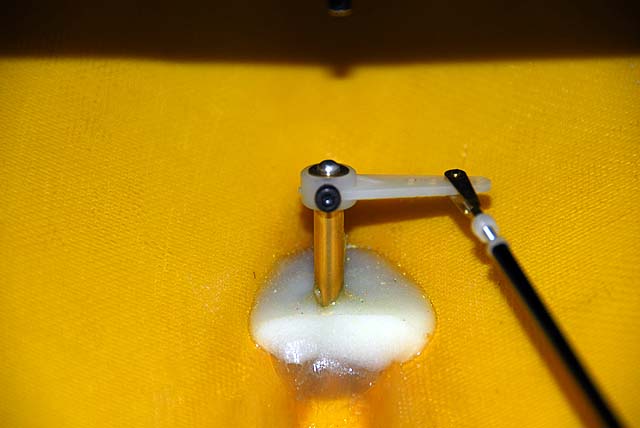
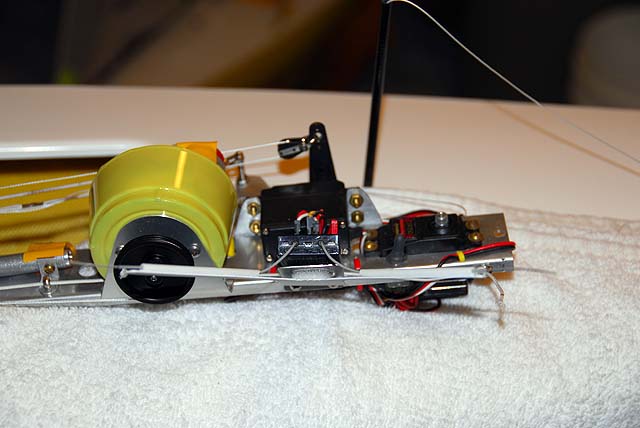
Install the rudder and tiller with the servo linkage attached. Place the system board shaft into the boat and rest the chassis on a pad on the deck.
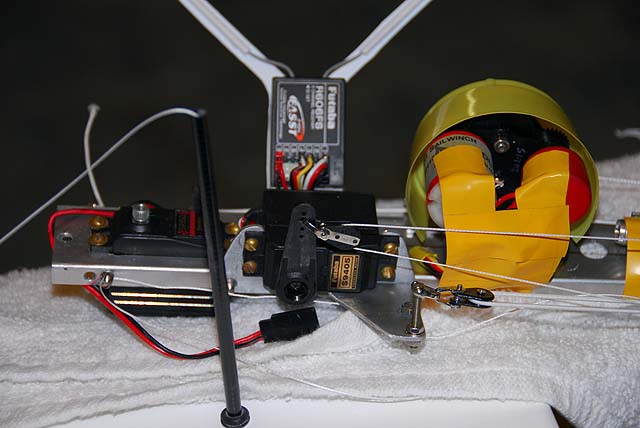
Feed a long sheetline for the jib down the fairlead and out the hatch. Pass the line over the top of the servo block and back forward through the underside of the spindle. Tie the line to the collector on the winch line and lock it. Pass a long sheetline for the main down the fairlead and out the hatch. Pass the line through the aft eyelet and through the eyelet on the underside of the outrigger. Tie this to the collector and lock it. Install the system board and check the sheetlines are free.
Rudder Set Up Center the free rudder with tongue depressors and lock the set screw with the tiller pointed to port and 90 degrees to the centerline of the boat. Check the winch signal switch is OFF. Turn on the radio system with the servo arm centered and connect and adjust till the servo is not buzzing against the blocked rudder. Remove the tongue depressors and fine tune the rudder with the transmitter trim as needed.
Sheetline Check Now is a good time to check the operation of the sheetlines. We already know the system board will work but what if the sheetlines are pooled in the bilge of the boat, meaning the winch is sheeted out but there is no air to move the booms. Good Captains do not do this on the water. Lets say you were not thinking...
Close haul the winch. Look down at the drum to see that you still have 1.5 turns on the axel that was set up in the System Board section. Now, without holding the sheetlines outside the boat, move the winch to full sheet out. Look inside the boat and see where the lines pool. Are they in danger for snagging? Now move the winch to close haul and watch the lines feed out as the collector moves toward the bow. Was there any snagging? Do this several times.
Well, here in the shop there was a snag. The jib line managed to slip under the right fork of the chassis were it secures under the screw into the ballast...on the fifth cycle. A piece of tape will be placed over the spot for the time being.
Guest what, Captain. You have a boat. You are done here till you have a rig to put on it.
|