Deck Hardware
![]()
![]()
![]()
![]()
![]()
![]()
![]()
|
Deck Hardware
|
|
Last Update December 27,2007
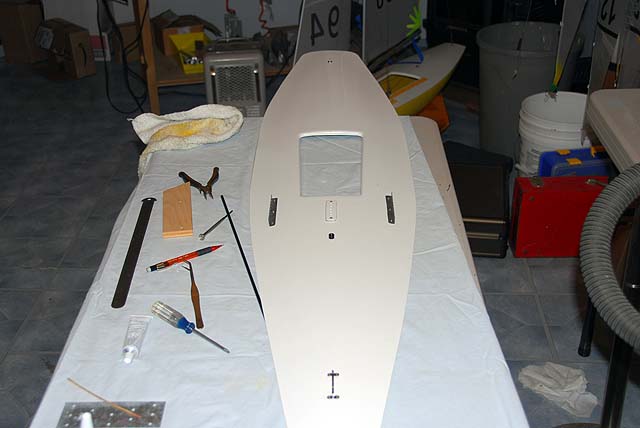
Deck Preparation Hardware Installation
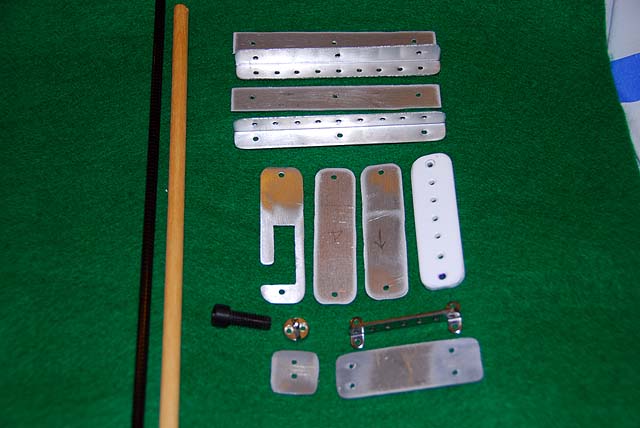
Parts: .032" Sheet aluminum. 2-56 machine screws and nuts, stock (flathead and round) Chainplates (Shroud Racks) (2), Mike Zellanack, MMY#268, RMD or make them. Mast base mount (1), Mike Zellanack, RMD or make them from Lexan from the plastics store. Jib rack (1), Mike Zellanack or MMY #265 Fairleads (2), MMY #194 or Mike Zellanack Back Stay mount (1), MMY #241 3/8" dowel
Supplies: Blue tape Loctite as mentioned previously Wood stock MinWax varnish Silicone sealant 5-minute epoxy
Tools: Measuring tape Calipers, if you have them Metal ruler Tap Drill and bits
Centerline There are two alignment nodes on the top of the RMD deck. This marks the centerline of the deck and the centerline that will be used to place the deck on the hull flange for gluing. Your work throughout this page will be referenced to these nodes and a line between them. Additionally, the aft edge of the bow node will mark the bow of the hull and will be installed that way. All station measuring on an EC12 is from that point.
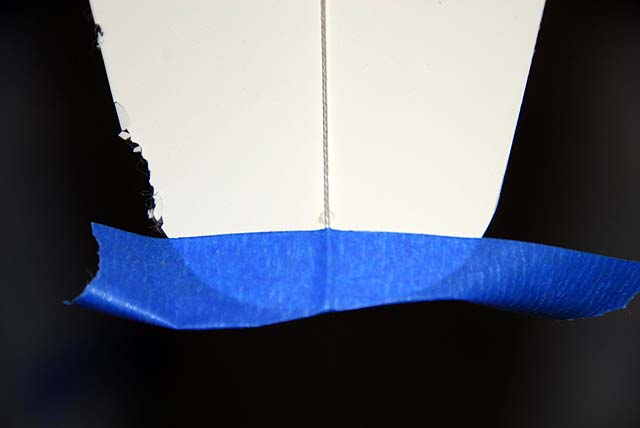
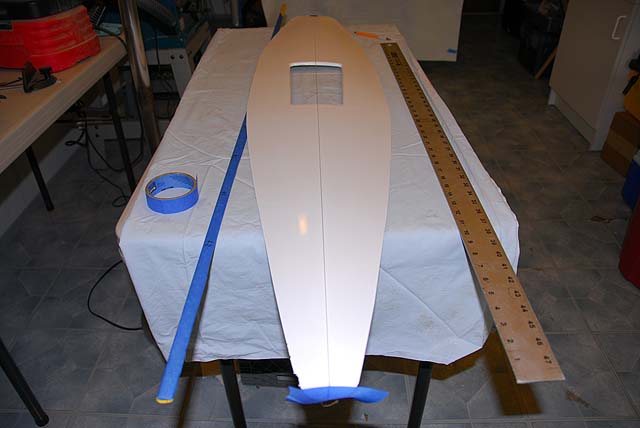
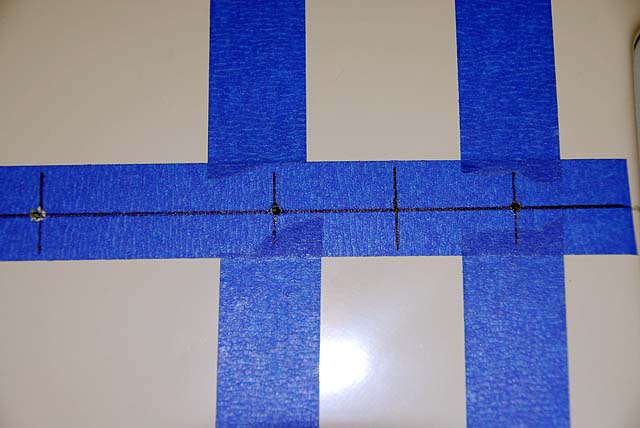
We do not have a 6' metal ruler and will assume you do not either. Tape a 6' piece of string so that it rides over the nodes and is taped at both ends and the line is taught. Carefully mark with a pencil without pressing down on the string exactly under the string centerline at the front and rear of the hatch and over the edge of the fairing. Remove the string. Now, place a length of blue tape between the marks and over the respective node. You still should see the bump of the node and the marks at the hatch. Check the alignment with your ruler that it is correct. Your tolerance is only the width of a pencil or pen line, serious. The centerline of the hull and the deck is major in the performance of any sailboat. With your metal ruler draw a line from the center of the nodes to the center of the hatch marks.
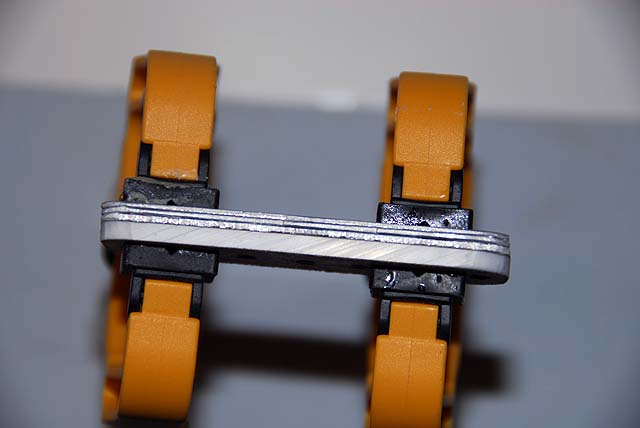
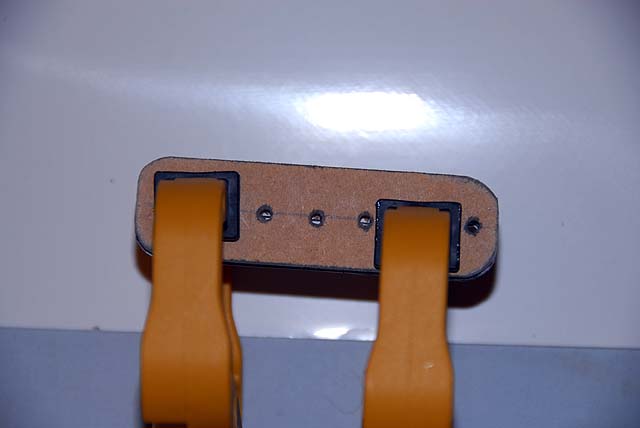
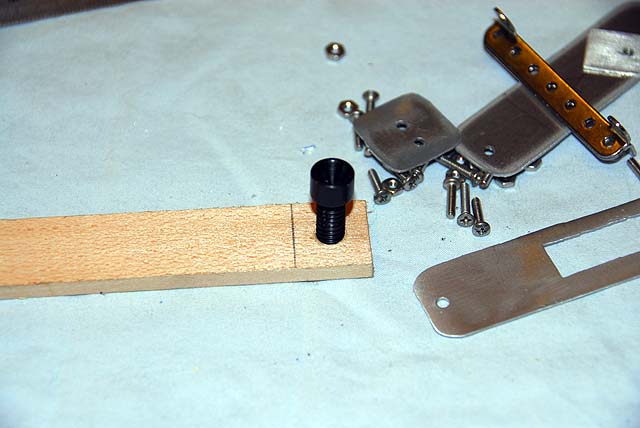
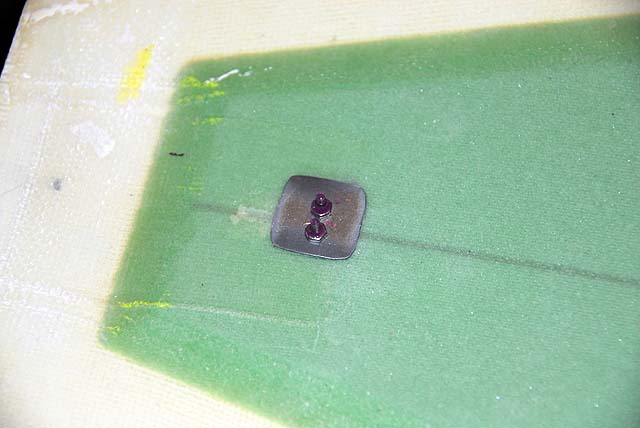
Deck Hardware Assemble your parts or make what you like. They are the jib rack, fairleads, chainplates, mast step, back stay mount and the mast compression post. This build will not have a twitcher and if you want one then add the deck gear needed. All hardware will be back plated for the deck and this will be wood or aluminum sheeting. All fittings will be 2-56 machine screws and nuts with Loctite. This is an absolute must for a molded deck. .032" aluminum sheet is recommended.
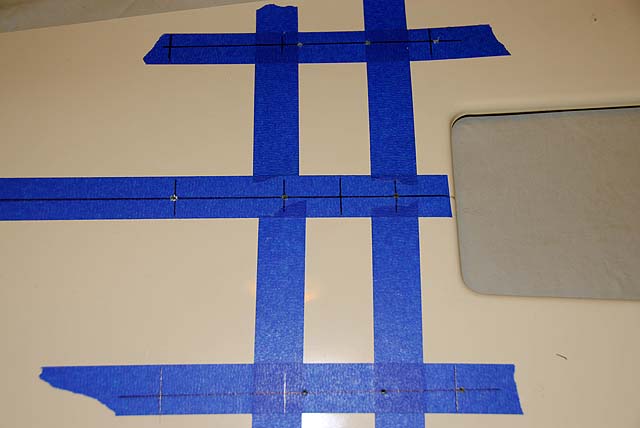
Hardware Marking The centerline was drawn above on the blue tape. Now mark along that line and measuring from from the aft end of the bow node to the following positions used here at Delta. You may have your own...whatever.
That was easy huh, Vern? Well, this will not be and don't do it during cocktail hour. So, lets talk for this has to be right. This is where square and parallel take on serious meaning.
The chainplates are placed in relation to the mast positions and parallel to the boats centerline and xxx away from the centerline so when you put the deck on the boat they are not outside the sheer. Oh my, that would ruin your day Vern and you would not have a place to hang out anymore.
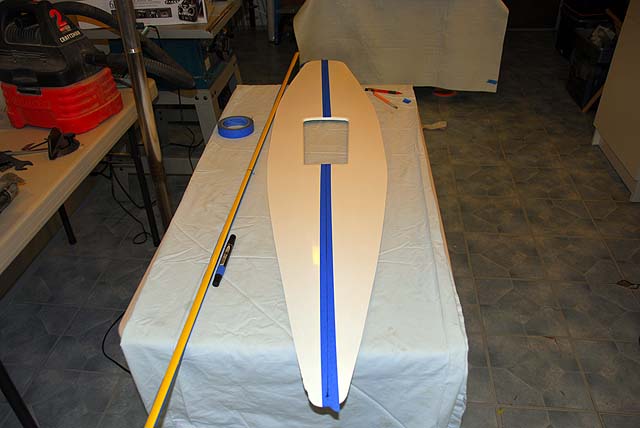
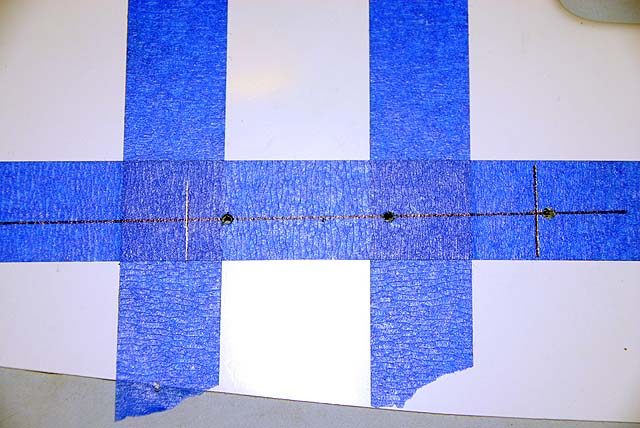
We are going to place the forward end of the chainplates directly adjacent to the screw hole for the mast step. The chainplate mounting holes with be on a parallel line to the marked centerline of the boat. Mark the deck 104 mm adjacent to the centerline with a lead pencil at around the fairlead and where your line ends at the hatch. Lay a piece of tape between those marks and then measure again to place a mark on the tape. Check it. Draw line between them.
Place the mast step so the mount holes are centered on the centerline and the mid hole is on the mark you made at 645 mm. Mark the mount holes. Using a flexible right triangle transfer that mark to the chainplate line. Check it. Now measure from the node to that mark to see if you get the same result on both sides.
Place the chainplate on its centerline with the three mount holes lined up correctly. Mark those mount holes. Here is what the picture should look like. Check the measurement from the bow to both holes and that they are the same on both sides. Check the measurement from the boat centerline to the chainplate holes and they are the same. Think about it for a bit.
Very carefully drill all 9 holes with a bit for 2-56 screws. Leave the tape of for now.
Drill for the Jib rack and the backstay with the same bit. Then use that bit to pilot drill the standard fairleads.
Cut two squares of wood stock to back the fairleads and drill them out with a 7/32" bit and tap them for 1/4-20. Drill out the fairlead holes in the deck and very carefully tap them.
Remove all the tape. That is that!
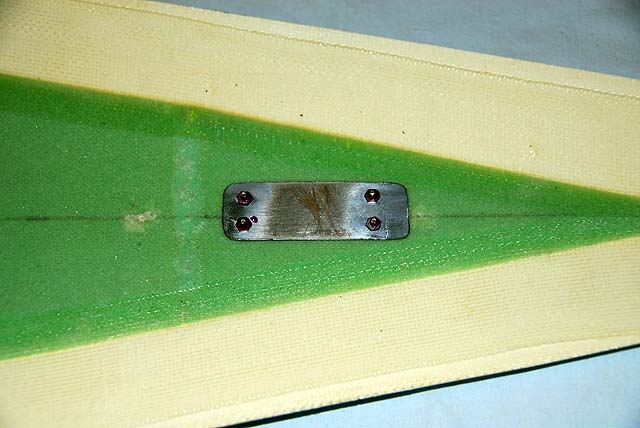
Install 'em. Use a very small amount of silicone sealant on all the holes to protect the deck. Use Loctite on all the machine screws. Use round heads on the jib rack and chainplates. Use flat heads on the mast step and backstay.
Remember, install a mainsheet fairlead. It was not here because we are using a post for a fairlead and it is not tested in the field.
Now you are outta here.
|