RMG Winch
![]()
![]()
![]()
![]()
![]()
![]()
![]()
|
RMG Winch
|
|
Last update, December 11, 2009
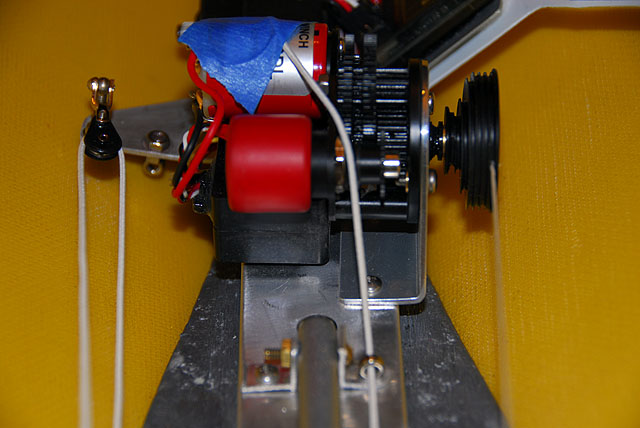
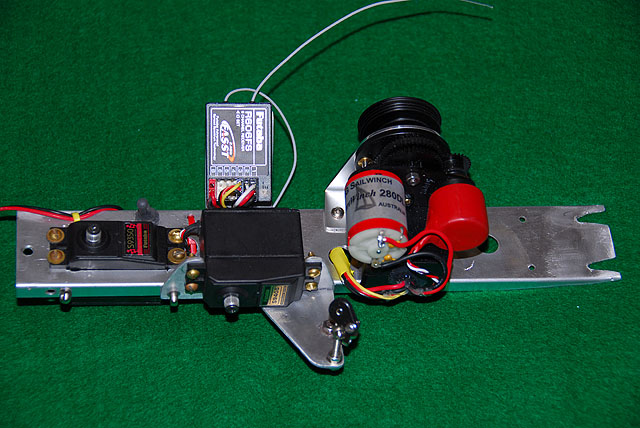
RMG 280DL and EL models, CPM, MMY or RMD Marine 32zs6 spiral drum, CPM, MMY or RMD Marine Drum thumb screw, CPM, MMY or RMD Marine Signal Switch, Optional, CPM, RMD Marine or RMG or make one Flasher voltmeter, Optional, CPM, MMY or RMD Marine
Set Up Checklist for the field and for 280DL and EL models. Set Up Checklist for 280 and 380 models prior to DL.
While this page was documented using a Futaba 2.4GHz radio the process and procedures are easily translated for the Spektrum 2.4GHz system.
Why are we writing all this text? You may not be familiar with the RMG SmartWinch. This winch is a very reliable and beautifully designed and is a finely crafted device. It is geared mechanically, driven by an electric motor and operates by a programmed computer with input from a RC radio system. The radio only controls the rotation of the winch in normal operation. The radio can change factory default programming only when the winch is placed into set up mode. Because of this programming option; improper wiring and installation processes, 99% of the issues with this winch are caused by the user. Take it to the bank.
Before You Begin Reading the manual is strongly recommended.
Wire the System Board for at least a three amp (3a) load. This means 25-22 AWG wire for the chassis, batteries and power switch. Chassis wiring must be as shown in the diagram here on the site or as shown in the winch manual, page 5. Note the disconnecting of the red wire in the lead from the winch to the RX plug.
The system battery must be at the least shelf voltage and checked before use for any testing of the winch or programming of the winch. Never trust a charger or a battery pack because you knew it was just charged. Check it. For a 5-cell pack that is 6.7 to 6.8vdc. When turning on the power and the RX works, it means nothing but that. The winch has a detector sensor less tolerant than the RX.
If you are installing this winch in an older boat, remove and inspect the radio board for black wire under insulation, broken strands in the wire and cracked or corroded solder joints. In other words, if there is high resistance there will be less voltage and ampere flow.
Important Information and Understanding the Winch You can download a manual from RMG. Go to their website and under support the manuals for the two models are listed.
In the Set Up section 10, page 8, the RMG manual states the winch is factory set up with default settings. The “However” is very often missed. Set up of the winch is recommended to validate the end point positions of the drum. This provides overrun protection through the programming. If the RMG overruns a default factory setting or one set by the skipper, it can loose its programming of where it should be. This can cause the unit to “Hunt” and damage could occur. Hunting means it cycles back and forth. Worse is that the winch will run continuously in the selected direction. This will wreck the sheetline system and some components. Turning off the power switch is required. You will need to complete the whole set up process we are about to go through.
It is important to understand that while the winch is a servo, it does not have mechanical stops like the other type servos you use. It is a free running motor and is stopped only by the processor programming. Anything running as fast as this servo can have overruns of the end points. Spread Spectrum radio systems can extend the end points and travel length, not by processor programming but by the radio End Point Adjustment feature (EPA) provided by the TX.
The EPA can be extended to 140%. If the winch overruns that maximum extension you could loose the base programming of its end points and thusly, control of the winch. It has happened. RMG has cautioned us not to approach these limits for this reasoning.
In the process we will follow in the set up of the RMG for the end points with overrun protection will provide sheetline travel of 16.5 to 18.75 inches depending on line position on the spiral drum. With the TX EPA set to 100% (default) on the winch channel, you will not need more travel than this for the EC12.
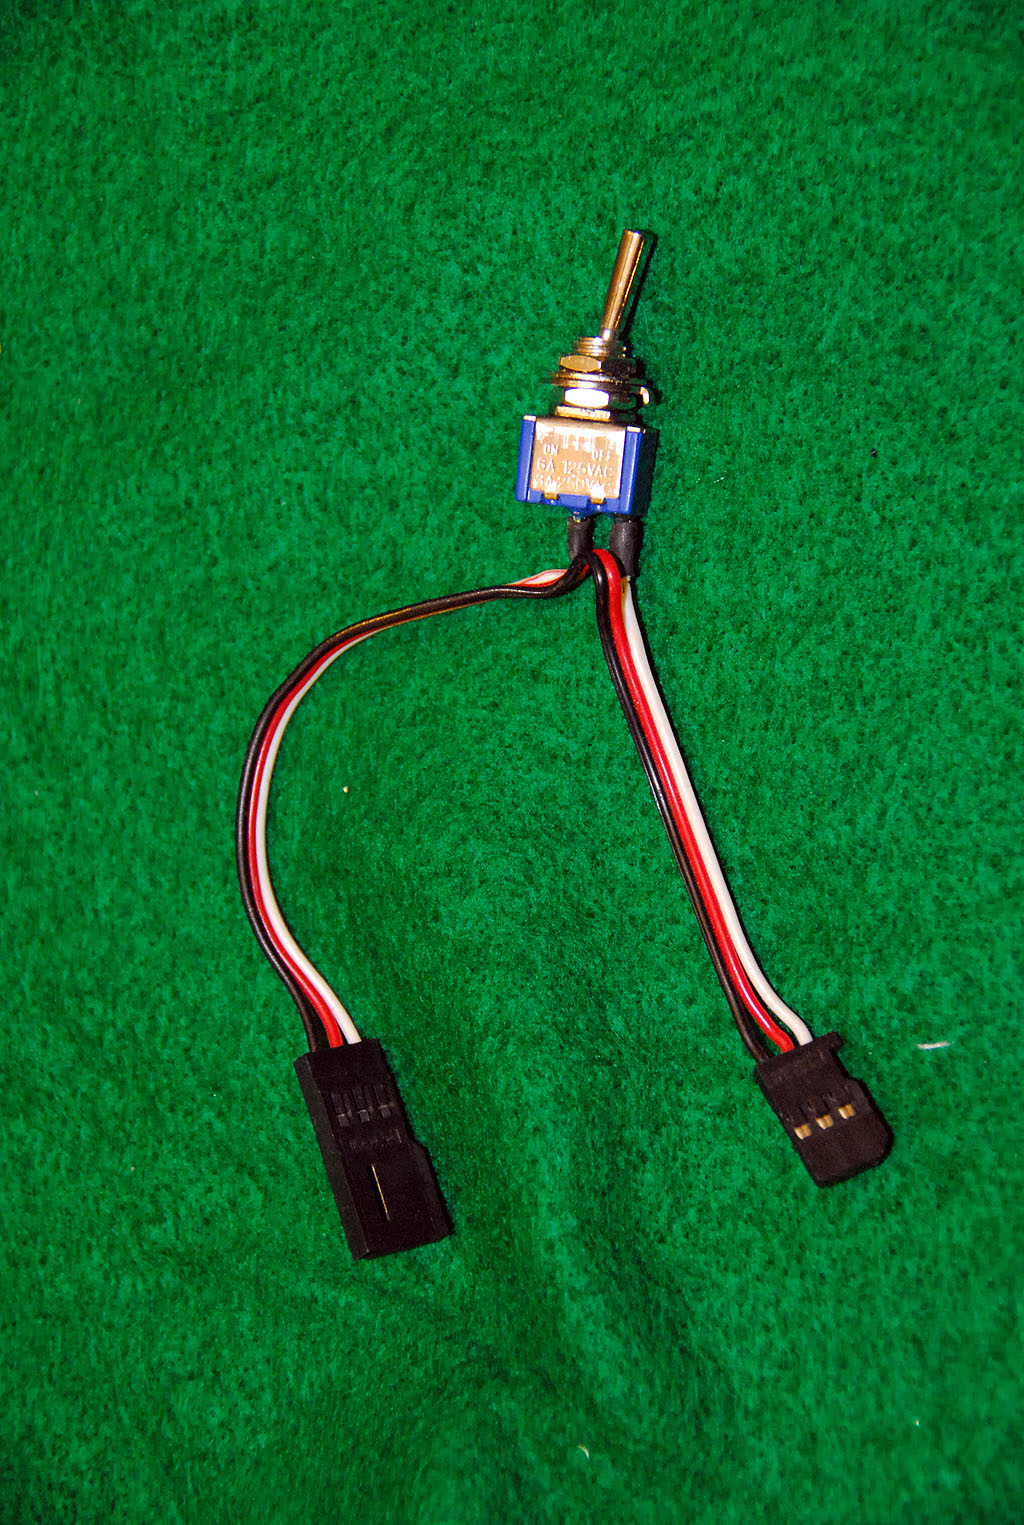
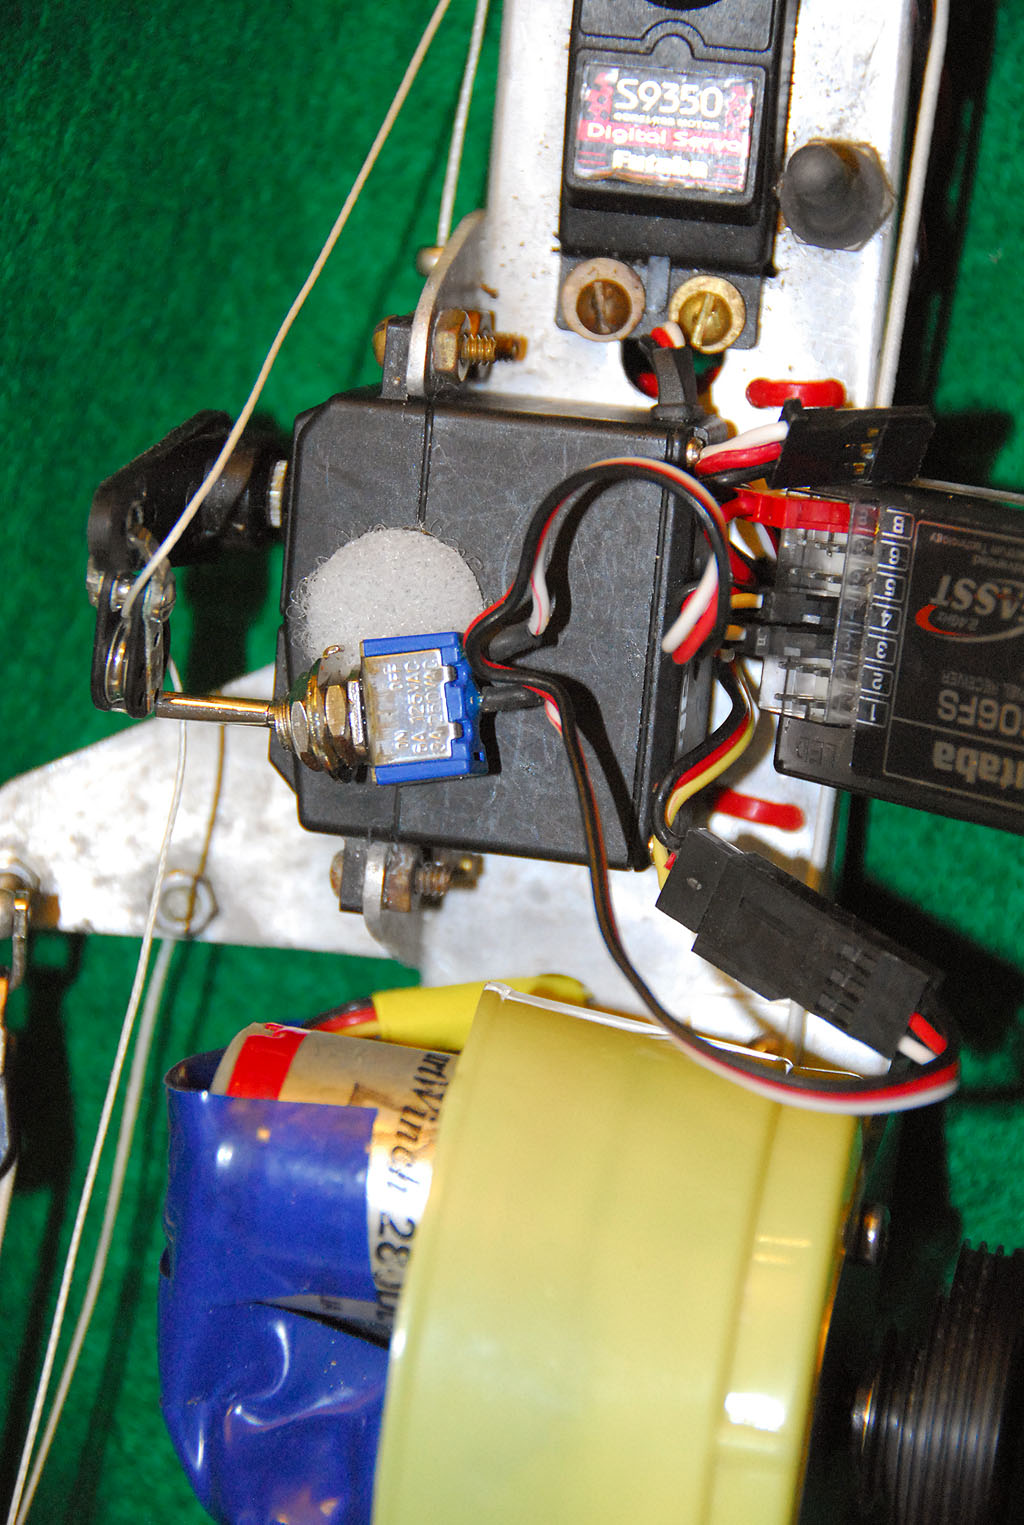
Signal Switch If you like to work in tiny places with itty bitty stuff you will not need one. You may miss a timing for a plug in or two but you have lots of time, eh?
One was made here by cutting the signal wire of a servo extension wire and soldering the two ends to a single throw toggle.
Systems Check If you have had the radio system then you know how it works. If the System Board is wired and you are ready for the basic set up, turn on the radio system for a full electrical check of all the servos. Okay?
If your radio system is new and you have not played with it then it is in a default state. That is good. The TX-RX package you received should mated to each other. If it is not then you need to go elsewhere for the binding process. Not a big deal but the RMG union goons do not like Radio stuff on their turf. Come back and see us when you are ready to proceed. Turn on the system and check all your servos.
When you guys are all ready with a viable System Board we will get down to what we really came here for.
Basic Set UP Programming Make this as easy as you can. Be able to repeat the process from memory. Okay, I know that won’t work so make a checklist. One laminated for the toolbox would be good. The on linked here is a Word document so you can change it. It has been found here that having Vern read the checklist and I listen and throw the switches makes the process flow easily.
During the building of the System Board there will be a point that sends you here for the basic set up of the winch. This is before the sheetlines are installed. Basic means confirming the winch end points are set. That is all we are going to do here now. All other winch programming is optional.
Go to page 8 of the manual and read through the process or get out your checklist. The signal switch is handy for the part about removing and plugging in the winch lead to the RX channel slot. Generally this is #3. Removing is the “Off” side of the switch and plugging in is the “On” side. Duh?
Remove the drum from the winch…just for kicks. You should not have a winch line or sheetlines connected to the winch anyway.
Turn on the TX and page to TRIM. Check that all the channels you are using are set to zero. TX winch stick to close hauled and turn the signal switch to off (or pull the winch channel plug). When you turn on the boat power switch, a 10 second countdown will start. Follow the instructions through step 5. Turn the boat power switch off. Then turn off the TX.
The end points for close hauled and full sheet out have been set into the winch.
Now you have turned off the system with the stick up, full sheet out.
Now turn the TX on and check for a steady green light on the back. Now turn on the boat power switch. You will hear a trill sound and wail till you have a steady green light on the RX. You have now properly turned on the RC system and should be linked to all the servos. The winch may rotate. No matter.
Bring the stick from down, up and down again to see that you are getting rotation in response to the stick. Sheet to full out. Put the drum on the winch with the winch line hole facing toward where the bow will be; forward.
Now, we like to have the drum rotate counter-clockwise from full sheet out to close hauled. This keeps the winch line low in the boat and out of the way. If you wish the same, change the TX channel reversing to get the CC rotation.
You are done with the basic set up of the winch. Check the winch is in the full sheet out position and the power switch off. Leave the signal switch attached and OFF. This is for safety reasons. Later the power will be turned on for other processes but want the winch inert till the rig and sails are tuned for the first time.
You are done with this puppy…back to the next step in the Sheetline System section where you left off.
|