Rig Assembly
![]()
![]()
![]()
![]()
![]()
![]()
![]()
![]()
|
Rig Assembly
|
|
Last update, December 27, 2009
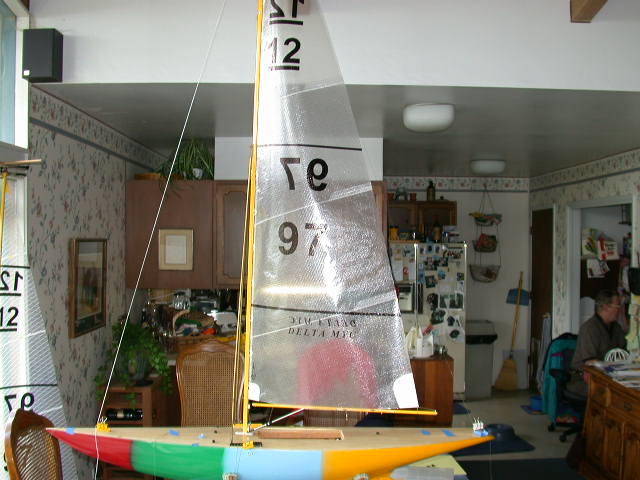
The First Standing of the Rig Installation of the Jib Sail
Here is another one of those projects that needs to go slow and with thought. It is also a test of organization in two-hand operations. If you can get your roommate for five minutes it will be a major kick start. Our shop hangout, Vern, is sometimes okay but his hands shake, sometimes more than usual. It depends on the time of day.
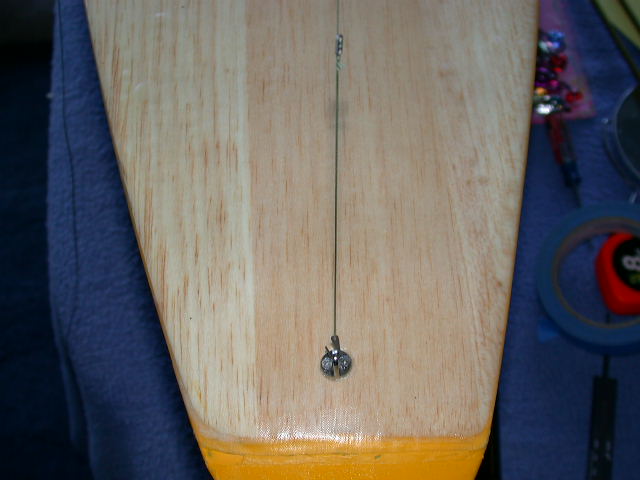
Preparations Install the backstay in the small hole at the rear of the crane with a swage. Make a small swaged loop at the other end about 60" from the top of the mast. Tie a 24" piece of line to the loop with a small Bowline knot. Make up a heavier line with some sort of hook for the crane that will reach to the jib rack. This will be a temporary forestay.
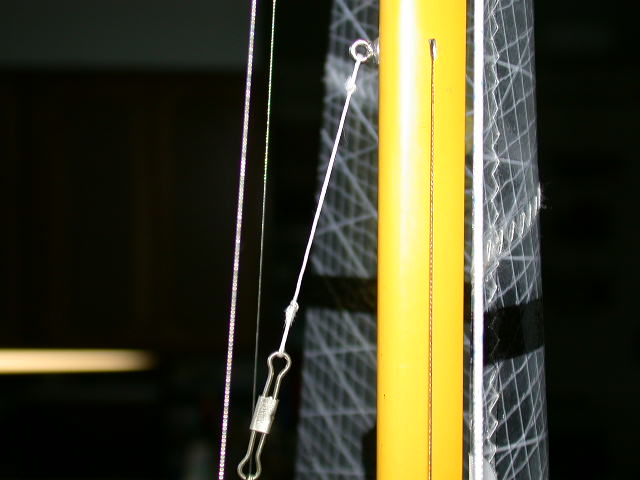
Install the forestay standoff. This is a 2-1/4" piece of 80# Spectra line with a small Bowline loop and tied to the forestay mount with three half hitches. Install a medium CL connector to the line loop. This connector will be the collector for the jib forestay wire, the jib uphaul and is to provide clearance for the topping lift over the jumper spreaders.
Install the jib boom to the sail. Attach the clew to the boom with a travel loop as was done with the mainsail to its boom. Tie the line on the tack to the forestay mount on the boom. This will be about 3/4" off the boom.
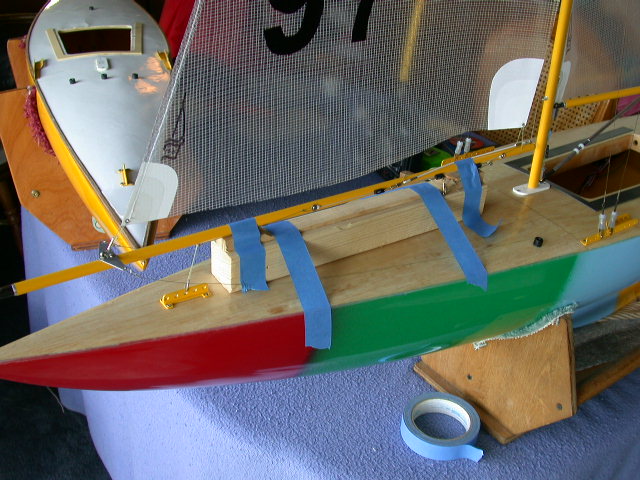
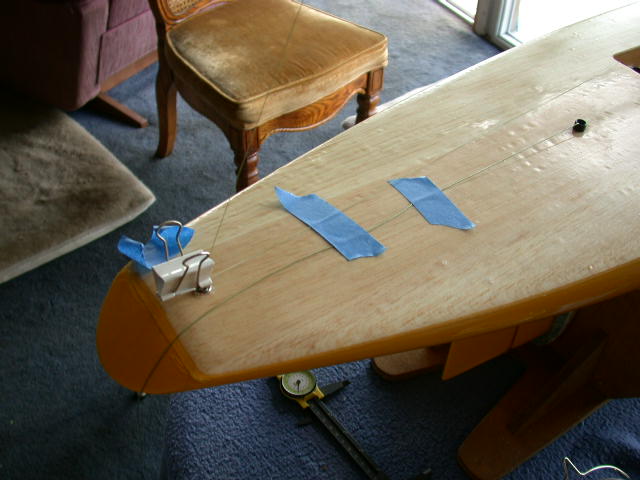
A Jib Jig You might like to make this wooden jig for installing the jib assembly to the rig. Installing the jib by yourself is almost like trying to eat a soup sandwich; everything is going somewhere at the same time. A block was prepared to fit between the jib rack and the fairlead and stand exactly 2" off the deck. Ours, shown here, is notched so the varied boom designs that we have tried will lay flat on the jig and level with the deck. The block is taped to the deck and the boom to the block. It will hold the boom solid while you put pressure on the jibstay and crimp it at the mount on the boom. Likewise, for the sizing of the uphaul and the installation of the topping lift. "Build it, you will like it."
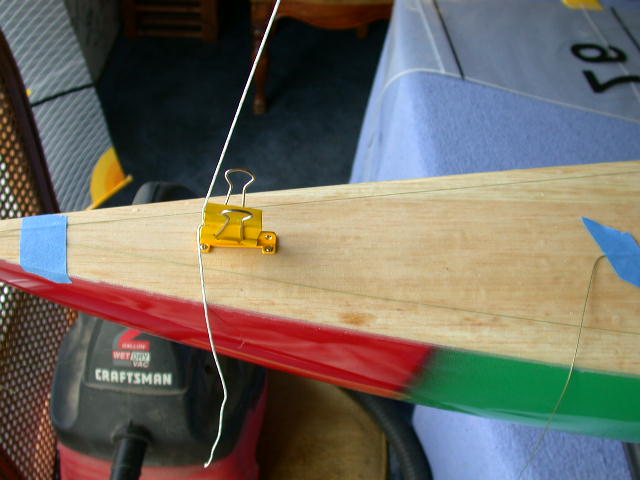
Standing the Mast, "HELP!" Stand the rig in the center hole of the mast step. Place the upper shrouds through the #5 hole in the racks. Place the temporary jibstay line through the forward hole of the jib rack. Place the backstay through the deck mount. Now, trying to hold the mast reasonable straight, clip all four with paper binding clamps so they will hold the rig upright. "Oooh, nasty...I could hear that all the way over here!"
Carefully install the rig divider into the #1 holes of the shroud racks. Make minor adjustments to the paper clamps till the mast is centered on the divider. Now, using the triangle, center the mast fore and aft in the same way. Fiddle around here till you are happy.
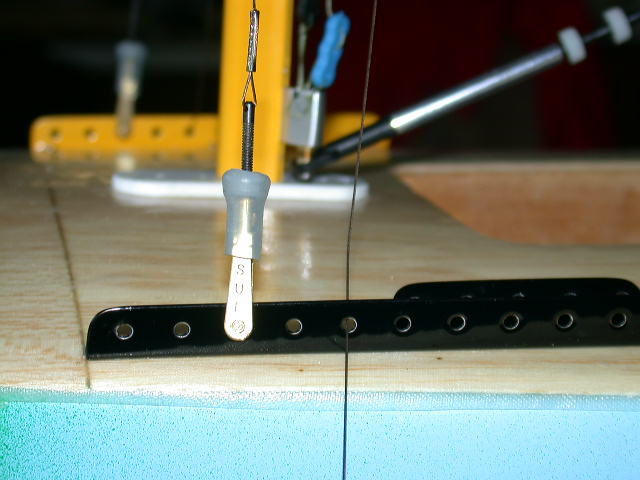
Make up six shroud tension connectors. You will use four here. First install the connectors for the lower shrouds in the the #3 hole of the racks. This will be the same as installing a wire loop but the rigging coupler will be added to the inside. Leave the loop big and loose and gently tug the end of the wire till the mast is centered on the divider. Slide the swage down tight and crimp it. Think during this process and make sure that the shroud wires are free of any tangles or crossings. Now, unclamp the uppers and install their connectors in the same manner and clip them into the #5 hole. Remove the divider when you are done.
Install the backstay bowsie about 2/3rds the distance down from the wire loop. Loop the line through the hook and back to the bowsie. Make sure the mast is reasonably straight. Take up the slack but do not tighten. It will bring down the rig and you will have to start all over again. You may have anyway. Ain't this fun? Tie the line coming from the hook to the bowsie with three half hitches.
Install the Jib Installing a Removable Jib (Optional) If you are not using the jig, there will be a need for a piece of shop line to connect at the standoff and will be tied off at the aft end of the boom. When tension is placed on the jibstay, like when setting the length and crimping the wire, the aft end of the boom will go down to the deck and mess up the job.
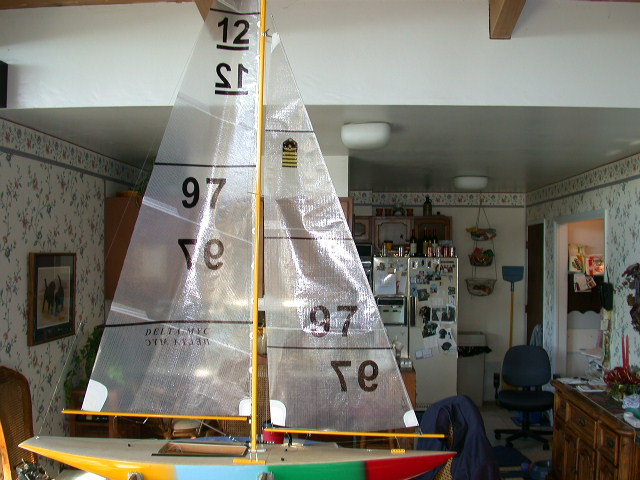
Make sure the mast is straight fore to aft. Make sure the jib swivel hook in in the center hole of the rack. Hang the loop at the head of the jib on the CL connector at the standoff. Install a bowsie to the uphaul line off the head grommet, around through the connector and tie off back at the bowsie. Adjust the sail so the tie off at the tack to the boom is fully extended so the bowsie will finalize about an inch from the connector. The uphaul does not need a lot of adjusting movement but certainly enough loosening to relief tension on the sail when stored.
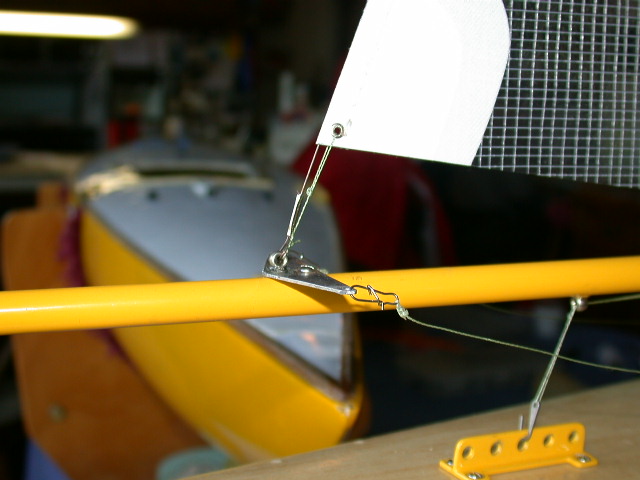
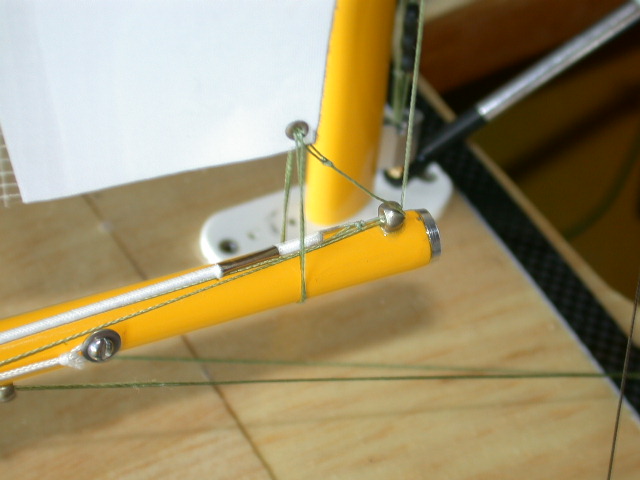
Remove the tack portion of the jibstay from where it was taped to the sail earlier. Slide on a swage and feed the wire through the jibstay mount on the boom and back through the swage. Make sure the mast is straight. Adjust the backstay till it is. You are about to pull against it to install the jibstay. Carefully tension the jibstay through the swage till it is straight along the luff of the jib. You do not have a lot of room here. When you have it set, crimp it. Vola! The jib is on. It is starting to look like a sailboat.
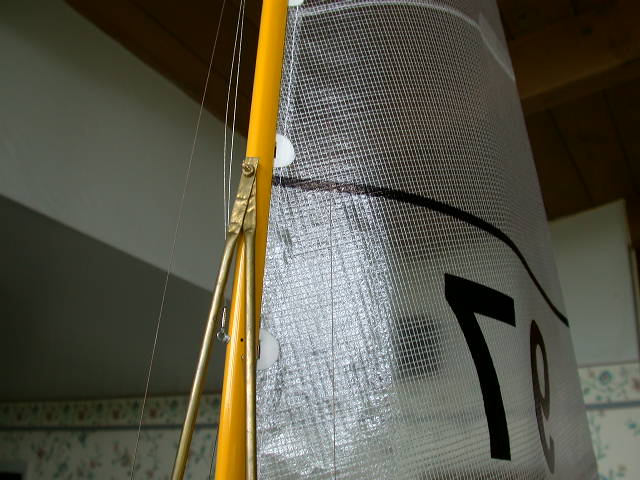
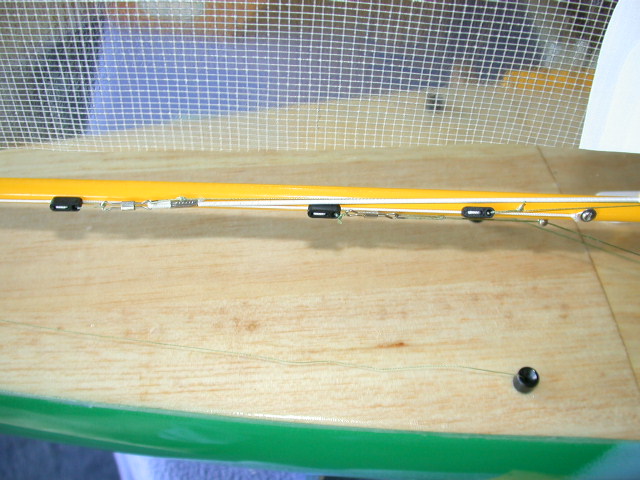
Topping Lift The topping lift runs from the jibstay standoff, at the CL connector, through the after guide on the boom to the forward adjuster on the side of the boom. This adjuster will change the length of the line between the end of the boom and the standoff to set the twist in the jib sail. Twist in introduced as the boom is lifted. Without this control the backstay tension will pull up on the boom at the jibstay mount forcing the aft end of the boom down and flattening the sail.
Wind gusts can cause the sail to fill over powering the backstay tension and lifting the aft end of the boom. This will cause the topping lift line to go slack with a good chance of snagging in the upper rigging. A bungee is installed in this line on the boom to take up this slack.
Tie a small Bowline loop in a long piece of light line and place it in the CL connector at the standoff. Tie another loop so that it will be just inside the aft guide on the boom when the line is passed through. This loop will hold one end of the bungee. Move the forward adjuster so that you will have about 2" of adjustment moving forward. Fashion another loop that will fit to the CL connector on the adjuster with the topping lift line firm without any slack. Install the bungee.
Check Your Work At this point you are about ready to Pre-Tune the rig. Do a top-down check to see if you, or us, have missed anything.
Great! Remove the rig, secure the lines and put it away till you are ready to pre-tune. If you have not seen how rigs are packed away, you might find the pony tail holders handy. They are the ones that have a loop of bungee tied in the center and with balls attached at each end. If your roommate does not have any you can get them in the hair care section at the food market. Slick!
The backstay is a big pain in the Bippy. Here we run the hook end through the main clew slot and hook at the clew adjuster. The bowsie is adjusted on the backstay to loosely remain there. Works for us!
|