Sail Preparation
![]()
![]()
![]()
![]()
|
Sail Preparation
|
|
Last update, December 23, 2009
Preparing the Sails for Installation
This has long presented mounting sails on the mast using a jackline process. This was the method in 1999 and had existed in many forms for 30 years. The jackline is a permanent fixture alone the trailing edge of the mast to which the sail is attach by hanks or hooks and other devises. It is laborious to install and to change mainsails. It is know longer used on the racing EC12.
The process is archived on the site and available if needed here.
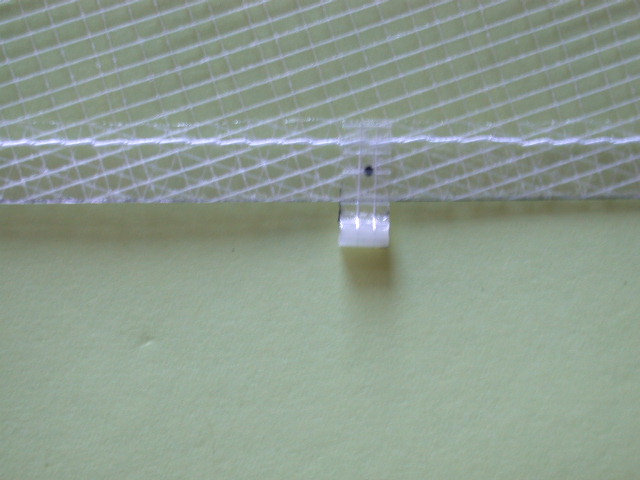
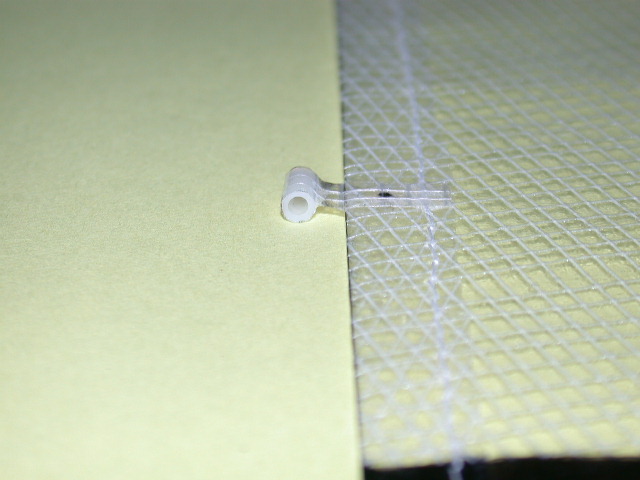
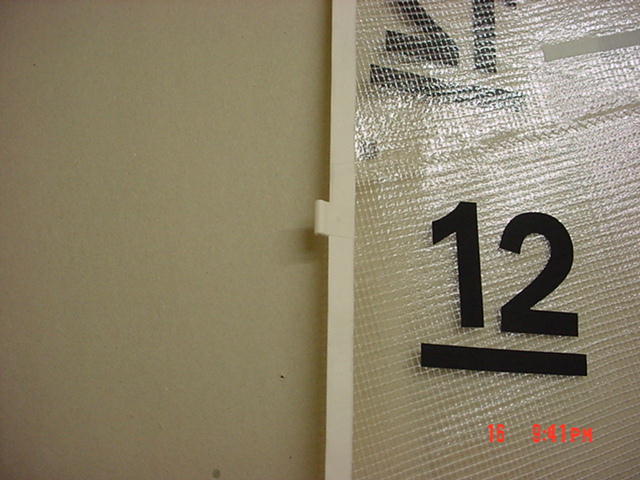
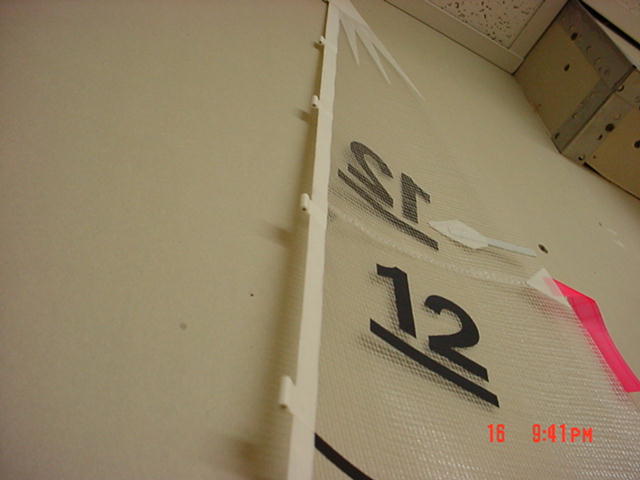
Mainsail Tube Sail Hanks These hanks are attached to the outer edge of the luff of the mainsail. This method is common with sailmakers and builders. The photos shown here will be update. The materials and process is more refined than this.
You should be able to find a 1/8" hard plastic tube at a local hobby shop that will fit in the luff track of and grooved mast. These will be prepared as sail hanks.
Starting 5" from the bottom of the luff, mark locations every 5" up the luff toward the head. You may have to make a slight adjustment as you arrive at the head of the sail. Cut the tubing in 15mm lengths for each mark.
Apply the tube with a quality bonding tape to the luff of the mainsail to form a "hinge" with about 3mm of separation between the luff and the tube. It is important to the set of the sail that this offset distance be consistent. A tongue depressor was used here for the spacing before locking in the tape.
Play with it. You will get the idea of procedure.
Tie a long line to the clew. This will be camber adjusting line. Tie another to the tack, which will be for the downhaul. Hang up the main till needed.
It depends on how you intend to secure the main at these points. A simple square knot loop can be used during the mounting of the sail to the mast. Spectra will slip when tied this way and to your advantage. Using two small nosed pliers on the tags of the knot, you can pull till the sizing of the tie is to your liking. Then use an overhand finishing knot and a dab of CA glue to secure it.
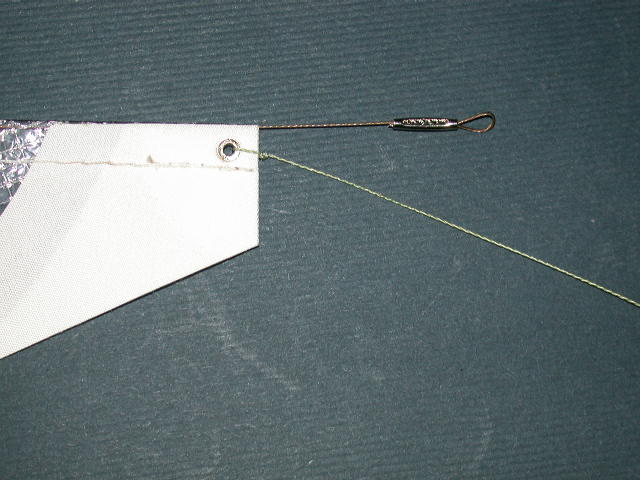
Jib and Jibstay Thread a piece of rigging wire through the luff of the jib sail. Some sailmakers have a tightly creased luff seam. If you have trouble pushing the wire at some point in the process begin twisting the wire in little steps and you will get through. Crimp a loop in the wire at the head of the sail. Cut off the excess wire at the tack with about 6" remaining. The loop will connect in the standoff connector on the mast and the excess at the tack will be hard mounted on the boom.
Install a long piece of line at the clew grommet that will reach well past across the foot of the sail. This will be the adjustment for the camber. Tie 10" lines to the tack and head grommets. One will hold the sail down near the boom and the one at the head will be the uphaul.
Tape the excess rigging wire to the sail and hang it back up till needed.
Note: Most of the knot tying, particularly through the grommets on sails, is the Bowline knot with a single over hand knot finish. Spectra line and Spiderwire braided line, which has Spectra in it, will come loose in time despite the Bowline. Hence, the over hand knot. You can also lock either knot with CA glue, if you like.
|