Sails
![]()
![]()
![]()
![]()
![]()
![]()
![]()
![]()
![]()
![]()
![]()
![]()
![]()
![]()
![]()
![]()
![]()
|
Sails
|
|
|
Last update, December 23, 2009 Printing the Sails
Parts: Suit of sails
Tools: Computer prints of the numbers Additional pieces of paper Black marker, fine and broad felt Straight edge Acetone Tape Rag and Q-Tips. General Most sailmakers are printing the sails or offering it as an option. This includes the draft strip. If you are ordering sails for a new hull or boat to be built, ask the builder for the YRN and you can pass it along to the sailmaker.
When the boat is registered the Class Secretary will send a copy of the Class Specifications with this sail diagram for the EC12 within the Owner’s packet. While this information is part of the class specifications, it is taken lightly in the class. Here at DMYC it is considered seriously and this page will tell you how to do it correctly for better visibility and looks.
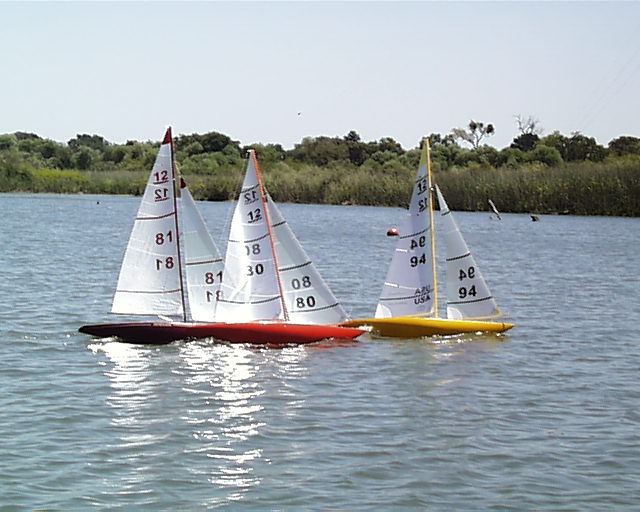
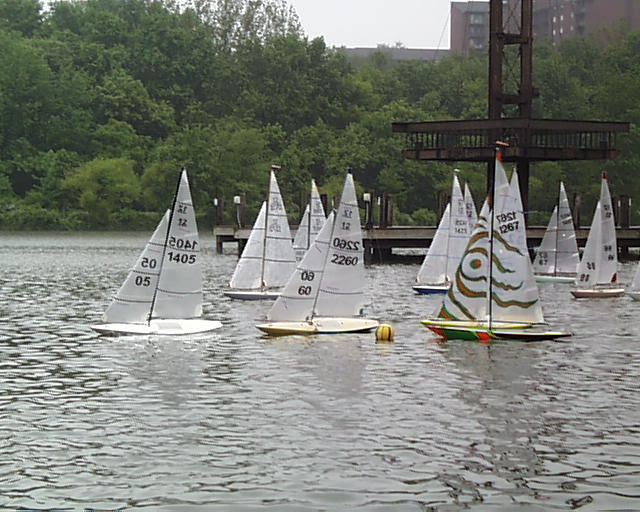
You need to be visible on the course, at the start/finish, rounding the marks, in the raft-ups and during overlaps positions. The most essential numbering is the jib and required at major events and most others as well. In any event where there are officials monitoring the race events, they need to clearly know your number and it is to your benefit. Your size and color of lettering will be just as important as to proper location on the sheets. 'Nuff said! Think about it.
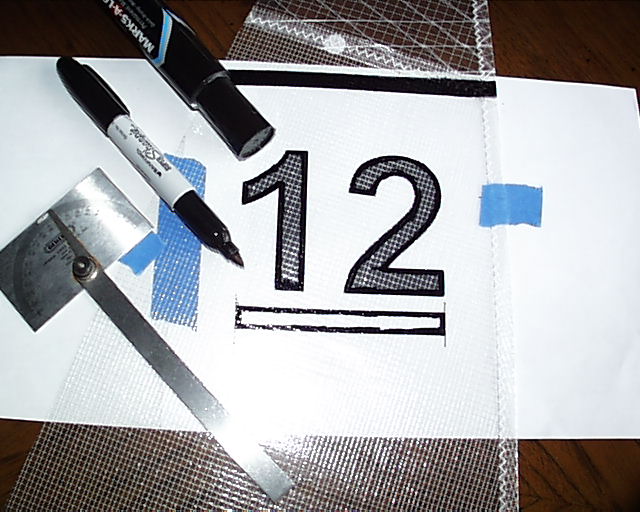
Black is the preference here for visibility. A permanent marker is the best bet. Marks-A-Lot and Sharpie seem to hold up well. A fine point marker is used first to outline and then a broader felt marker to fill in the rest. All lettering and graphics are printed on both sides. This makes a huge difference in visibility and it makes the effort appeared painted on.
Shown here are the jumbo and standard felt, a fine felt pen and a Prismacolor art pen with an extra fine tip. The latter is used for small lettering.
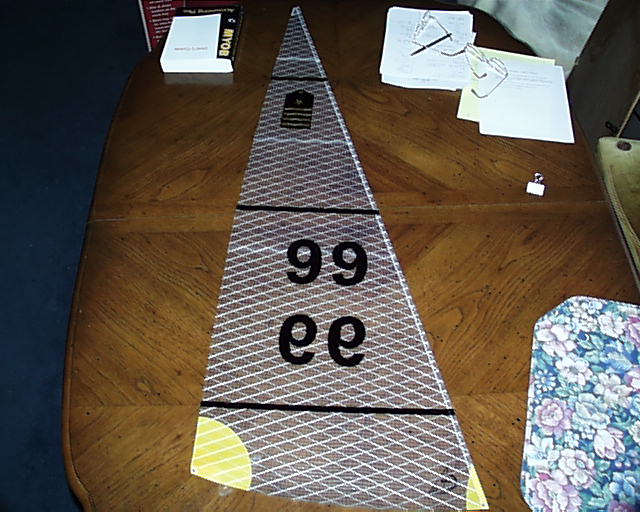
Draft Stripes These are optional and serve many purposes to each skipper which will not be discussed here at this time. They offer an excellent presentation on the water and if you are one to monitor your heel, draft stripes will give you an excellent perspective. Sailmakers place the stripes according to their preferences when ordered on the sails. What we use, as listed below, is no magic formula but standardization. Main measurements are from the tack upward along the luff and on center. The stripe is perpendicular to the luff. Top stripe at 53" Middle stripe at 33" Bottom stripe at 8-1/2" The stripes at 3/8" in width. The jib measurements are from the clew upward along the leech and on center. The stripe is perpendicular to the leech. Top stripe at 38-1/4" Middle stripe at 22" Bottom stripe at 5" The stripes at 3/8" in width.
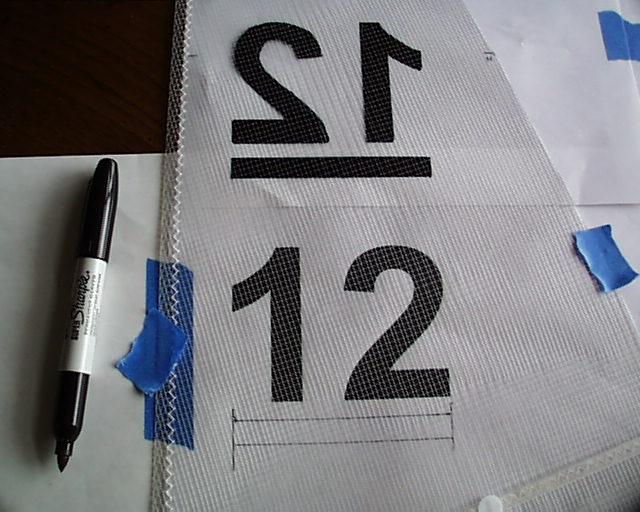
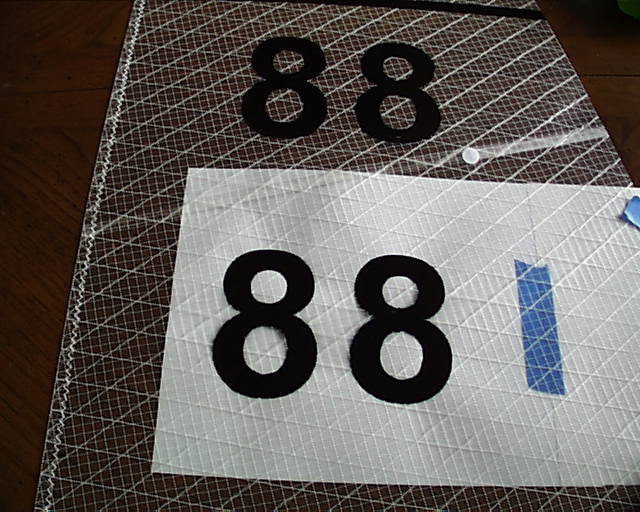
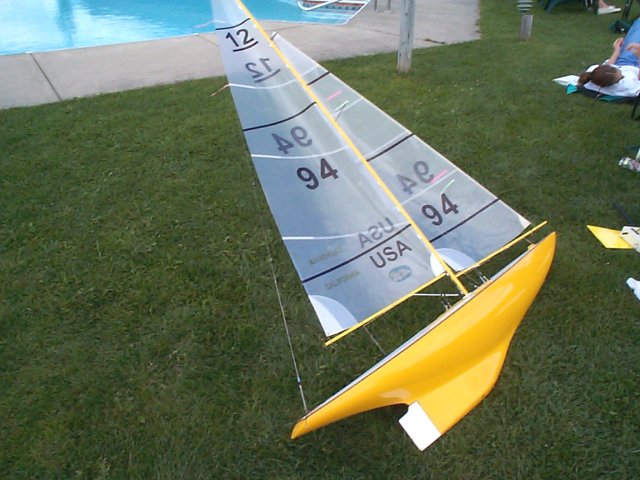
Class Identifier The number "12" can be printed on the computer using Arial 300pt selecting bold print and is printed on the mainsail only. Character spacing is Normal. The underline can be drawn on the printed template 3/8" thick and to the width of the numbers or it can be added with the computer as a frame and then filled with black. Place this bar 3/8" under the numbers. The top number is on the starboard side of the mainsail and parallel to the draft stripe.
The printed template is adjusted so the number is 1-1/2" below the top draft stripe and 1-1/2" from the luff. If you do not have draft stripes, the top number will start at 16" below the head of the mainsail.
The bottom underlined "12" is on the port side and 1-1/2" below the underline bar of the top number and perfectly in line.
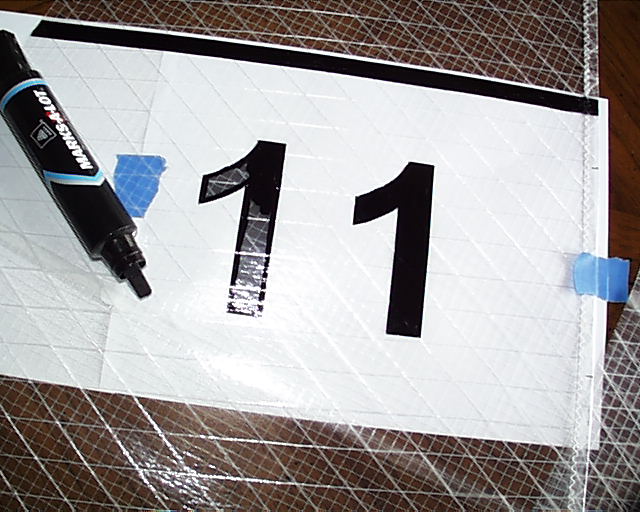
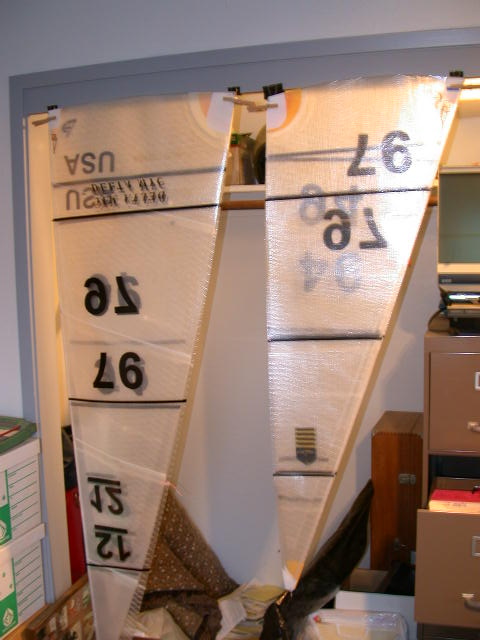
Yacht Registration Number (YRN) Generally, the last two numbers of a four digit YRN are printed. The template is to be made using Arial 400pt selecting bold print. Place this template on the mainsail 1-1/2" below and parallel to the middle stripe and 4" from the luff. The top number is on the starboard side. If there are no draft stripes, this number will begin at 37" below the head.
The port side number is 3-1/2" below the top number and perfectly in line.
The top number on the starboard side of the jib is 3" below the middle draft stripe and 2-1/2" from the luff. This will bias the numbers toward the leading edge of the jib for better visibility. The port side number is 2-1/2" below the top number and perfectly in line.
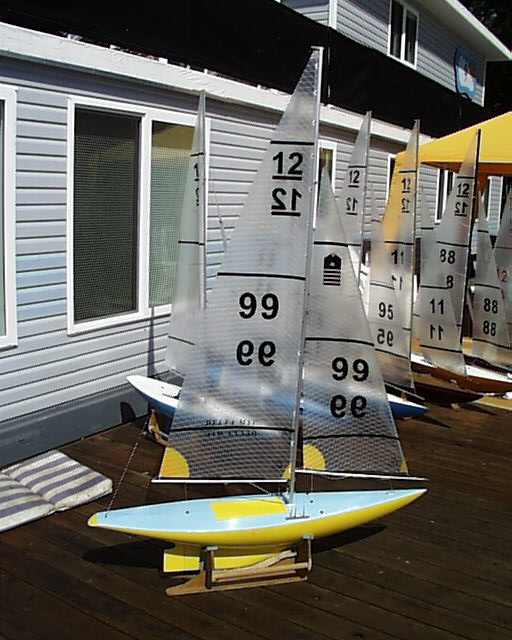
You can also stagger the jib numbers, as shown on the right above. Each of the numbers are 2-1/2" from the luff.
If you have a three digit sail number or wish to use the full four digits of your number, they can be centered on the mainsail between the luff and the leech. Three digit full numbers will fit on the jib but only use the last two digits of a four digit sail number on the jib.
Procedure Extend the template so that it can be taped to the edge of the sail. Use a small straightedge where you can for nice clean crisp lines. Use a small towel to wipe the straightedge as soon as you pick it up. Outline the numbers, then thicken the outline and fill in with the larger marker. Use the same outlining on the back side of the numbers to get a good solid relief. Work slowly and think. This takes time for a good job. Acetone and a Q-Tip will handle the small mistakes. It takes a full day to print a set of sails at DMYC, "No lie, Vern."
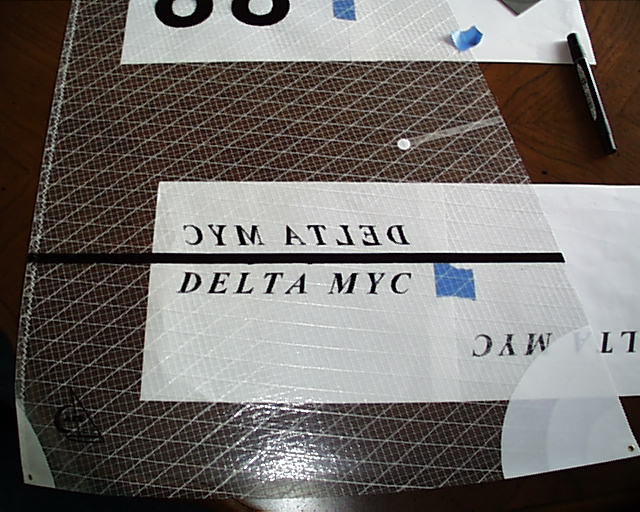
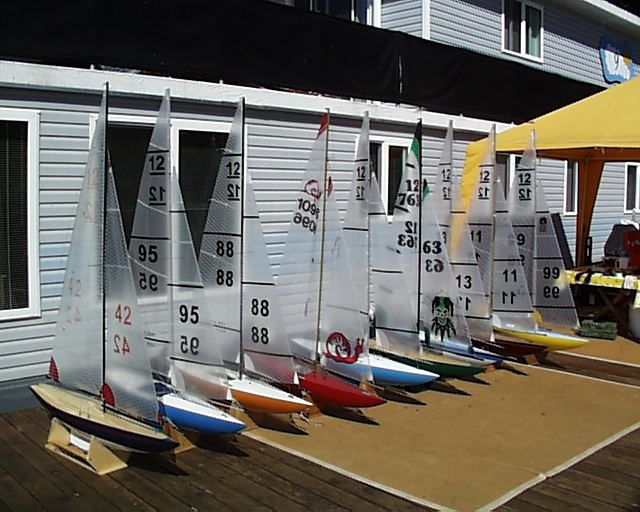
Other printing is often placed around the bottom draft stripe on the mainsail. Other than advertising, artwork is permitted outside the specifications of the numbers as long as it is not considered intimidating.
|