Last update, August 21, 2001
Building shown in this section is for reference in the Classic Build. Some links may no longer have a source and suppliers may not exist...Rick West, December 2009
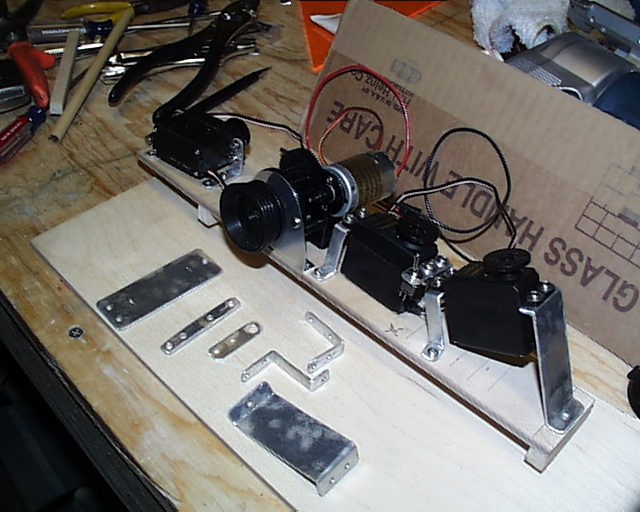
Servo Mounting Brackets, Power Switch Mount and Twitcher Arm
Parts:
Aluminum sheet can be found at Online Metals, Tower Hobbies or a local hobby shop.
.064" or 1/16" aluminum sheet
.032" aluminum sheet
Tools:
Some of the things you can use:
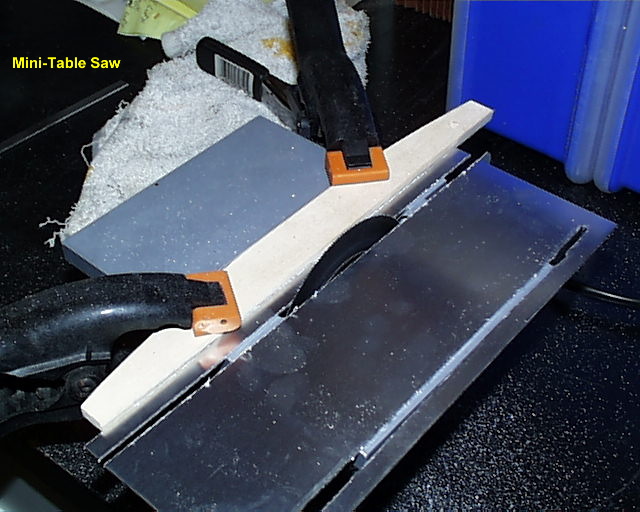
Nibbler, metal shears, mini-table saw or Bench shears if you have one.
Hacksaw or jigsaw with a metal blade
Dremel for deburring and polishing
Drill and bits
Vise or vise grips
These mounting brackets are one of the very few items that need to be crafted. You will need to help yourself here a bit. The greater challenge for those without shop tools is cutting the strips of aluminum. No worries, Mate! Find someone that can. Surely, a local machine shop can do it or someone you know that has the tools. Good metal snips can be used and then straighten them out with a small finishing hammer. At the worst you will have to use a hacksaw. You don’t have many to do. We use a mini-table saw at DMYC but then we do a lot.
The above photos shows the wider rudder rear mount used to Velcro on the receiver. We now mount the TX under the hatch liner and then use a long Z mount in the place of the wider one.
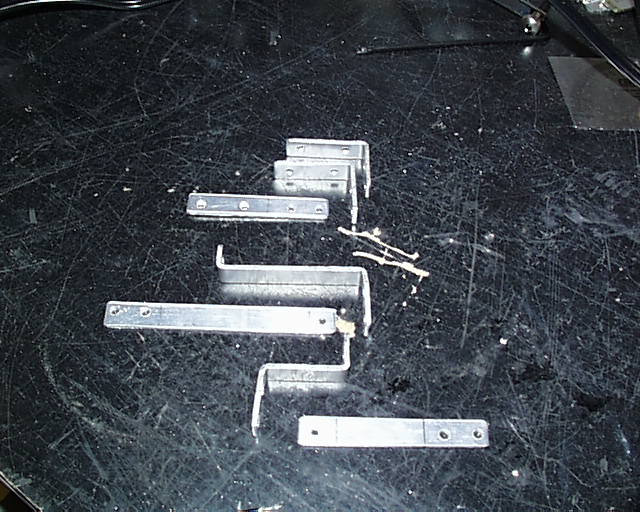
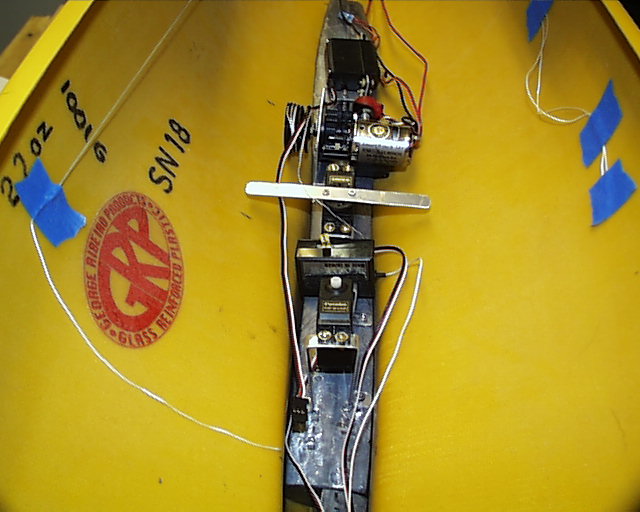
Measure the servos to determine where the bends will be. The base works well with a 1/4" tab. Mark the bend point with a pencil so you can drill where needed before you bend them. A #31 bit will provide ample room for the 4-40 screws. A vise would be nice to make the bends needed. If you do not have one, even a small one, use pliers of Visegrips. You can hold the aluminum strip, where you want the bend, in the jaws and lay the tool on the edge of a 2x4 and hit it with a hammer. I am sure you will work it out.
Note: The blueprint hole patterns for the jib trim servo are set for alignment so the arm points at the jib fairlead in its arc of rotation. Use the template to mark the holes from the bend.
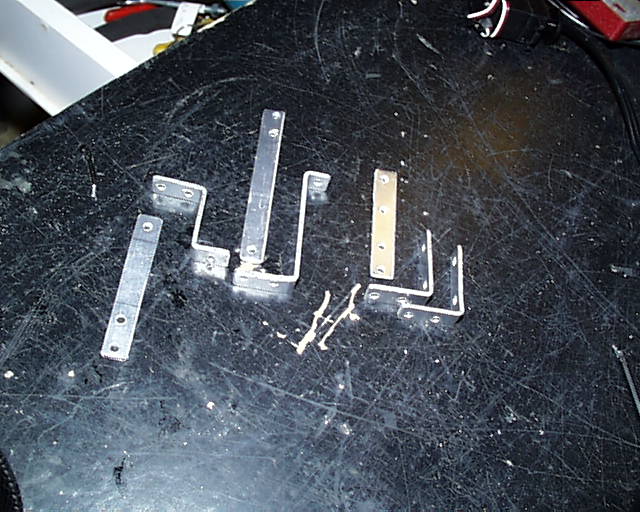
Make three of the smaller Z brackets if you are installing the twitcher option.
Use the thinner sheet to fashion the bracket for the power switch seen on the header above. You can drill the mounting holes to the rudder servo to match the servo bracket. Then drill a hole big enough for the switch shank. Be functional, it is not a beauty contest.
What you will need is 5/16 inch strips that will cover the range of your needs. The switch piece will be wider for the shank hole. The longest piece you will need is the twitcher arm at 6 inches. Otherwise, it would be 2-1/2 inches. So, get out the measuring tape and work out what you need.