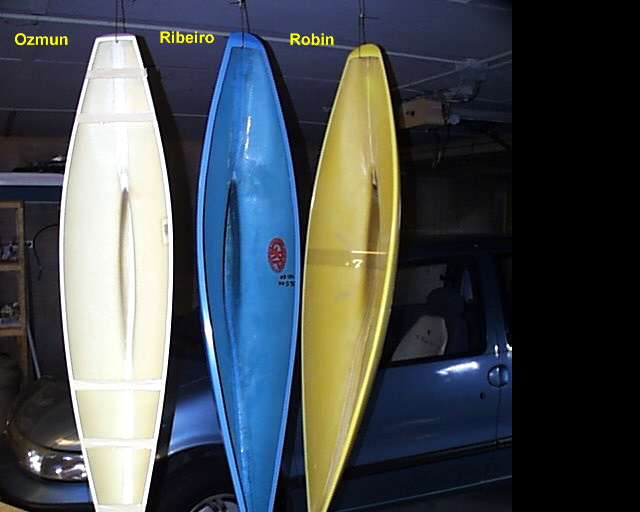
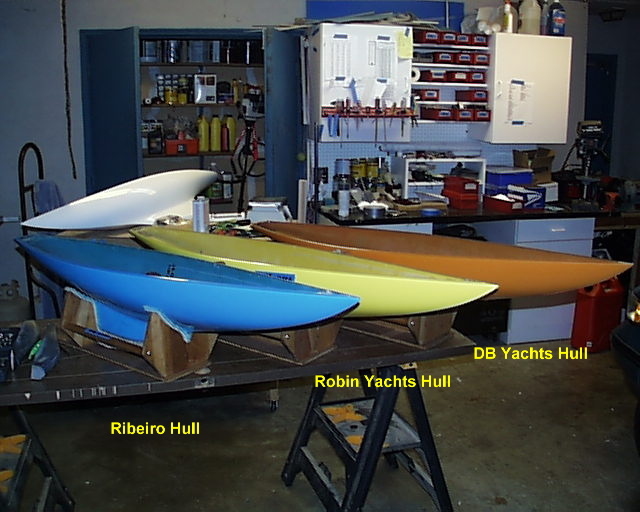
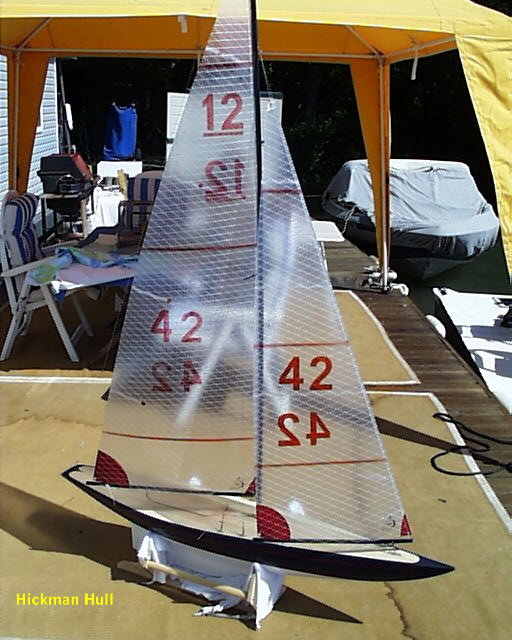
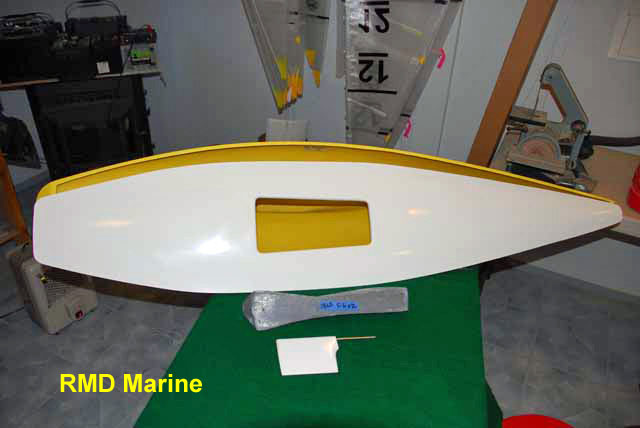
Hull
![]()
![]()
![]()
![]()
![]()
![]()
![]()
![]()
![]()
![]()
![]()
![]()
![]()
![]()
![]()
![]()
![]()
|
Hull
|
|
|
Last update, December 1, 2009
We are an Equal Opportunity buyer of hulls
Page for: All boat building
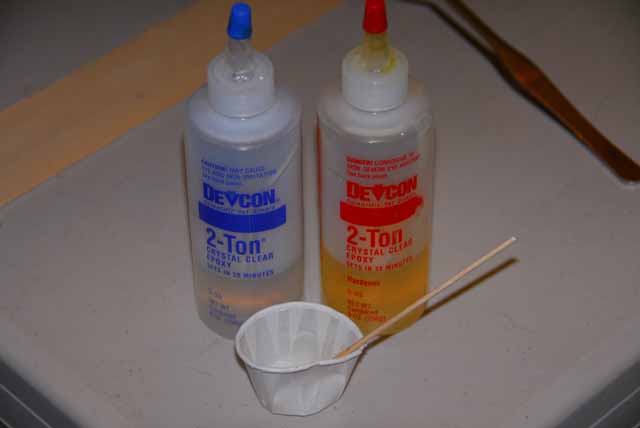
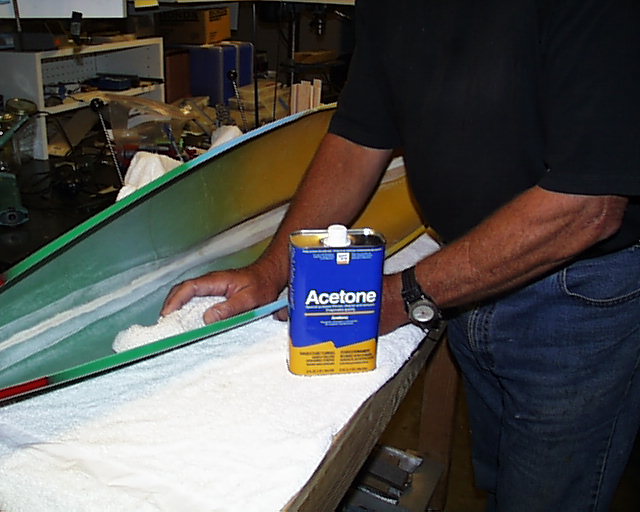
Tools: Epoxy resin Acetone or MEK Sandpaper, 1500-1600 grit Scrap wood Razor knife Blue tape Glue brush
Hull Finish The hull you receive should be clear of flashings from the mold and rudder fairing area. Inspect the hull to see you received what you expected and clean up the rest that you think is needed.
Clean the Interior Material residues during the lay-up of your hull still exist when you receive the shell. Don rubber gloves, ventilate the room or better yet do this outside. Soak a rag in Acetone or MEK and wash the interior of the hull. Everywhere, even under the gunwale flanges. This will enhance the bonding properties of resins and glues immensely. You cannot afford to have a joint come undone.
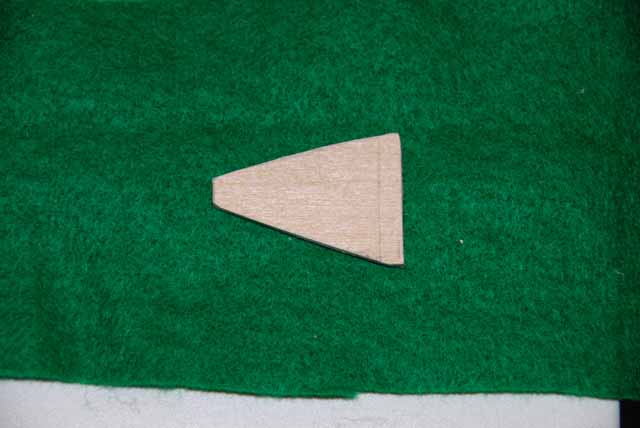
Install the Bow Block Shaft Retainer You can skip this if doing the Classic Build. However, please consider using the current System Board unit for good function and easy repair ability. An eye bolt for the sheetline turning block in a station 4 bulkhead is no longer recommended. If you have not studied this build, the arrow shaft is a key component to the boat's sheetline system. The forward end of the shaft will rest in a nexus under this retainer against the keel seam.
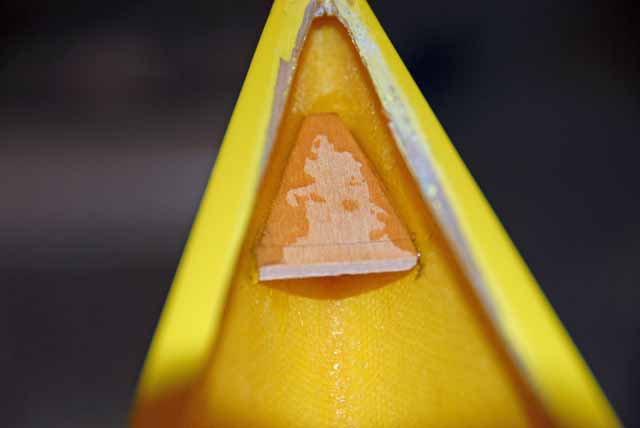
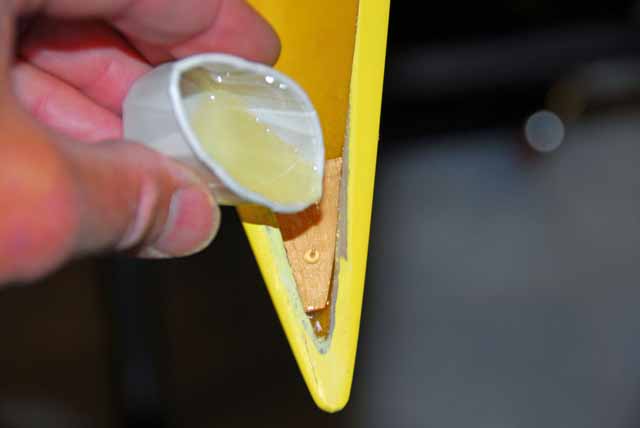
Fashion about a 1.5" piece of ply or Basswood to fit into the bow V about a 1" short of the nose. Make it wide enough that when flush and level you can slide the shaft you will use under it and snug at the forward end. It will self align. Bevel the edge to the hull with sandpaper. Note: forward of the retainer will be solid resin shortly. We use tweezers to test the fit and handle the retainer. When satisfied, tack glue this in place. When it starts to set up proceed with the bow re-enforcement and filling in along the sides of the retainer.
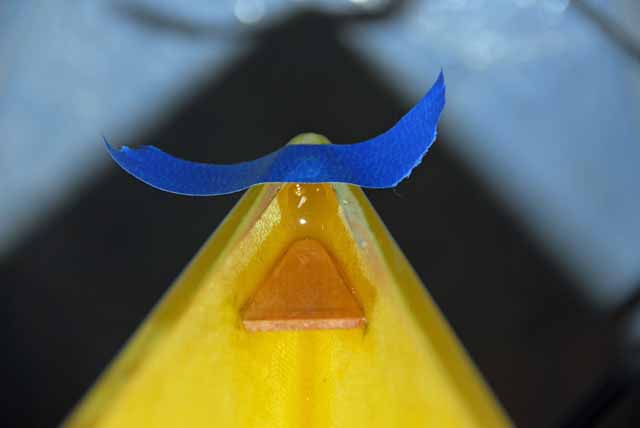
Re-enforce the Bow This precaution is nothing more than for collisions. Place blue tape over the flange of the hull that would cover the bow prow. Prop the hull up so the bow is down. Prepare a small mix of resin in a cup. Using a throw away glue brush, lightly paint under the retainer and on top to moister seal the wood. Also paint the V of the keel seam for added protection. Pour a small mix of resin onto the top of the retainer and watch it flow into the nose. Peek in there for you do not need a lot...about a 1/4".
The resin will solidify the bow for those collisions you promise will never happen. Concrete and rocks are popular while you are gloating over how well you did in the heat with your buddies. In time, you will hit something. "Take it to the bank, Vern." It will prevent water leaks afterwards at the lake and make repair easier. Hang the hull by the transom from a nail for 24 hours. Remove the tape when you think the resin will not wick above the hull flange any more. If it does, sand it flush with the flange.
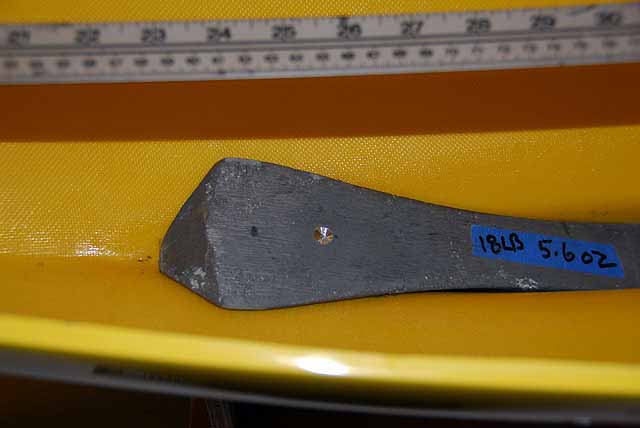
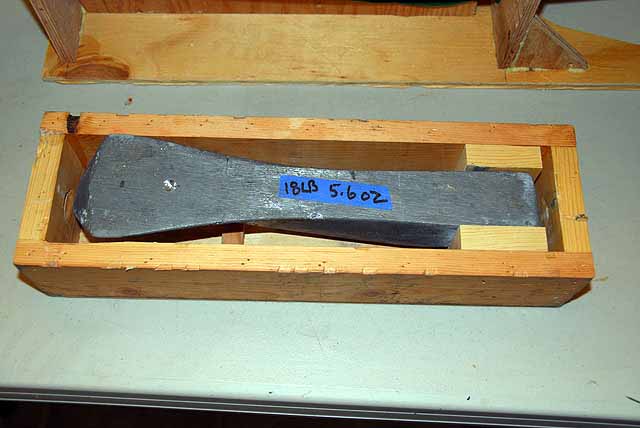
Ballast Prep Place the ballast piece you have received into the keel. The contour of the keel is such that the ballast will resist sliding all the way down. Holding it with one hand while it resting on the top of the keel, gently hold the sheer with your stomach and pull the other side toward you. This will open the top of the keel so the ballast will slide to the bottom. Wiggle the ballast till it releases into the keel. The ballast has a fit in the keel much like slipping on old Sperry Topsiders. You can move it around a bit by lifting it with a flat blade screwdriver. You will see when it fits as it was meant to. When satisfied, mark the small line in the keel at the aft end of the ballast.
Measure from the bow 25.5" to a point over the ballast and plum down to make a mark to drill a dimple. The dimple should be the size of whatever you will use for the compression post. This will be under the systems board where the mast compression post will pass and be held in place by the dimple.
Remove the ballast and store it in the wood packing it came in. If there is none, then build a stable box to hold the ballast when building the systems board.
Flange Prep Sand the top of the hull flange with about 120 grit to rough up the surface for gluing the deck on. Try not to scar the hull down from the flange onto the sheer and the transom. This area of the hull is nicely finished and will not be touched when installing the deck.
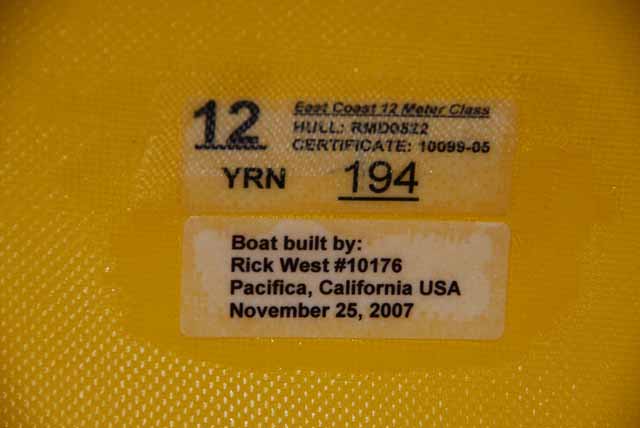
New hull purchased from authorized manufacturers will be delivered to you already registered with the class. A certificate label will be molded into the hull with information that is also recorded in the Class Registry and on the registration card that you should have received at this point. More on this is available in the Boat Registration section. An added label is a nice touch for history of the boat.
You are done for now. We will be back here again for the side links. Go have a bowl of ice cream.
|