Electronic Checklist
![]()
![]()
![]()
![]()
![]()
![]()
![]()
![]()
![]()
![]()
![]()
![]()
![]()
![]()
![]()
![]()
![]()
|
Electronic Checklist
|
|
|
Last update, February 27, 2010
The Building Process For The East Coast 12 Meter Yacht
Welcome to the Electronic Checklist
This is an intensively hyperlinked photo essay process. Each of the numbered steps will lead you to all information to complete that item.
The links off this checklist may be a bit wordy for some. The attempt has been to provide clarity to the least experienced builder and sailor.
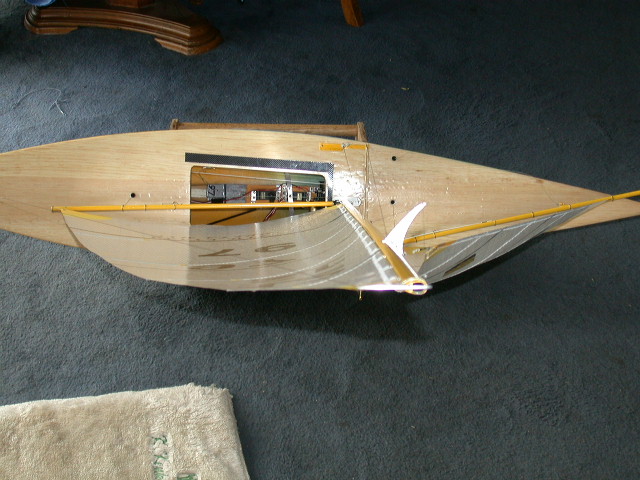
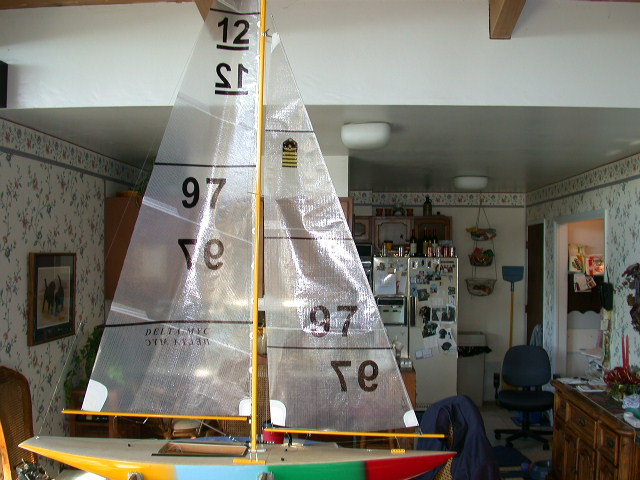
The photos in this process are those on file and of boats past and currently being built. All have competed in large regattas. There will be some differences in the picture to the text occasionally. Photos and text will be updated as new ideas evolve.
To get a concept of where you are going, read through and follow some of the links till you get to the real construction part. This will give you a feel for the process. If after the browsing you are dead sure you want to do this, go to Step A-1 and place an order for the prime hardware, then you will have time to get into the specifics of your planning. It can be assured, that if you get involved into what you want before ordering the short kit, you will die wringing your hands in anticipation. "Trust me, Vern!"
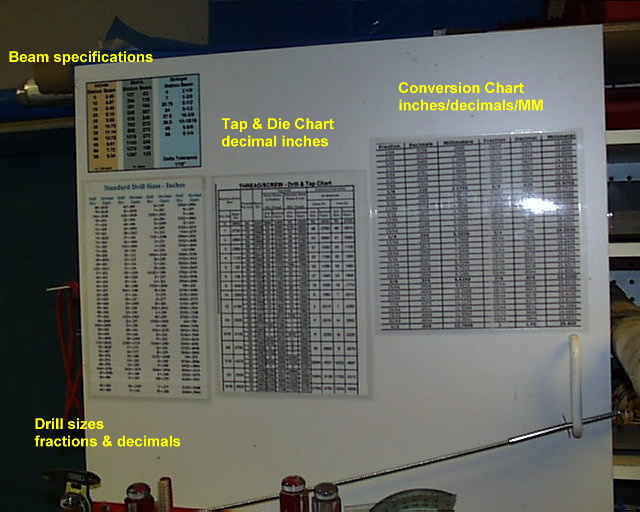
This is the part you are going to hate. The Delta MYC shop builds in metric...yea, yea, I know! Measurements in metric are more precise and easier to use with math. You do not have to have a conversion chart but it would be nice on the wall. The major measurement tools here for drafting, building and checking are electronic calipers, a scale with selectable units and a metal rule with an inch scale on one edge and metric scale on the other. Flipping the rule shows a reverse of the scales. You can get one at a office supply store. Try it! You will like it! It will make you a better person.
Please read the Introduction to the left
This checklist will present three choices in building at the same time. These are linked here for you to see more information about the specific build of these boats.
At the top left of each building section, the specific boat will be identified by these three builds. Some sections will be for all three or just one. Please note you are where you want to be.
The boat built from the kit will be the first documentation of that build. Unlike the others seen here she will not have competed on the water. However, the kit program is from the same build that a top competitor uses for his personal boats. This kit was bought from Chesapeake Performance Models for the purpose of this documentation and will be sold by the Class when completed.
There will be two rigs covered in the EC, the classic one spreader rig on the Goldspar mast and the Vector dual spreader rig using the Groovy mast and rigging hardware by SailsEtc from the United Kingdom.
Note: All links on this site to formatted documents in MS Word and Excel are of MS Office 2007. If you do not use this version an Office 2007 format converter download it needed. It is a small pack and a one time deal.
A-1. Order the Short Kit or parts of it NOW. The attitude here now is that after building the cradle no other construction by the EC should take place. We want you to have the hull or short kit in hand for show and tell. It can take a while to get a hull, deck, rudder and ballast built. This is the simplest and easiest way to start. If you are going to custom build outside what this kit provides then get the hull rolling now. B. Construction Plan Deck: If you want a molded deck, order it now from a manufacturer. Like the hull, this will take time and you need it at the beginning of construction for a vision of the project. Ballast: Order a ballast from or through the hull manufacturer’s recommendations. Sail Control Winch: The RMG 280EL with a 32zs6 spiral drum. That is it with us here and you cannot do better. Get it in stock early. Sails: If you need a YRN for the hull that is coming so the sails can be printed, contact the Class Secretary for assistance. Deck and Rig Hardware: The choices here are narrow because they work. The first time around, if it is made, please buy it. Later you can play around in the shop. Cradle: From the first day the hull arrives it should live in it’s a cradle. This is critical to maintaining its design shape over time. This cradle should support the boat resting on her keel. Review: Once you have cruised around the links, get comfortable with what you want and know that it is available. Know this: Most first time builders will build another boat within two years. Now that the information is out there, get it right for you the first time and wear it out before you build again. C. Order the parts, equipment, adhesives and plans as desired. D. Building phases The subject phases are listed on the banner links at the top of the page. There can be many sub-phases within most and an extension linked tree. All of this will be linked in the EC as needed. The link bars down the left side of this page are sub phases to the section. E. Parts and Tools Many of the links will take you directly to the subject. However, at the top of the same page will be the parts list. Many pages have multiple tasks and often a discussion regarding the subject. See it all before you focus on what the EC sent you there to do. F. Modular Building Approach The EC cannot assume what you will have in stock when you start the project. The modular approach allows you to build or prepare certain things without having the whole. For example, you can build, assemble and wire a radio platform without a hull or ballast. You can do the same with rigs and sails without a deck in place. Reviewing the numbered process can identify these steps in your situation. Likewise, you can install a rudder; reinforce the bow or any other work that requires curing time while doing something else. Here we try to keep projects to less than an hour and a half. It makes you flexible with your time.
Note: The EC will be under review for upgrading for some time. We will try to do in order and you should see a line marker in the checklist.
Did you read the above? Okay then...enjoy!
Note: reference to "Ribs or Rib" is the same as "Stringers or Stringer."
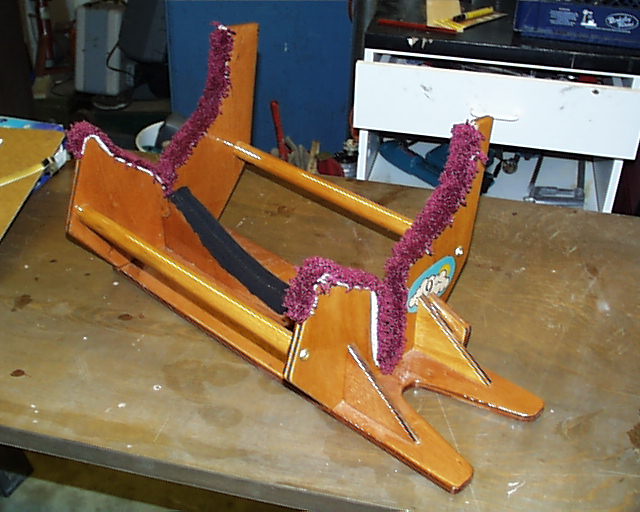
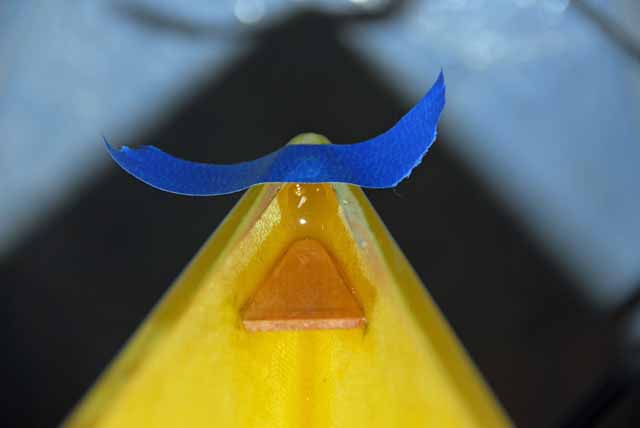
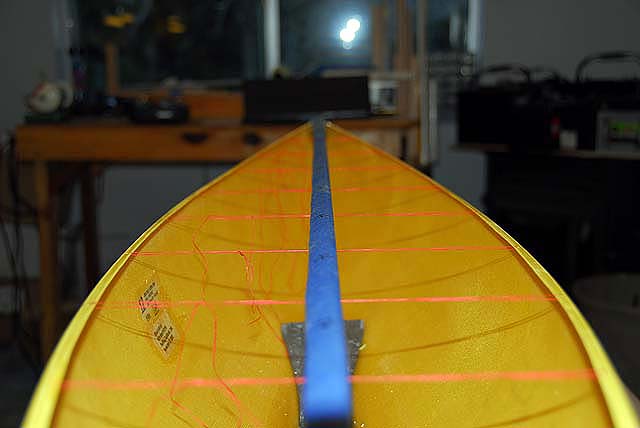
1. Build the boat cradle and construction cradle. If you are not building, then obtain a cradle as desired. Fit the molded keel support after the hull arrives and the ballast is installed. The hull should live in the cradle from the moment it arrives.
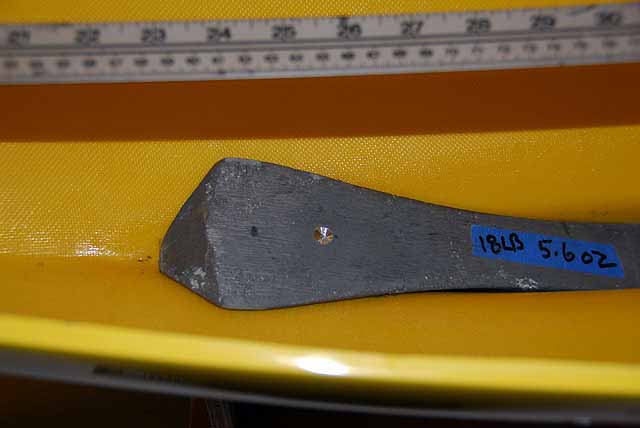
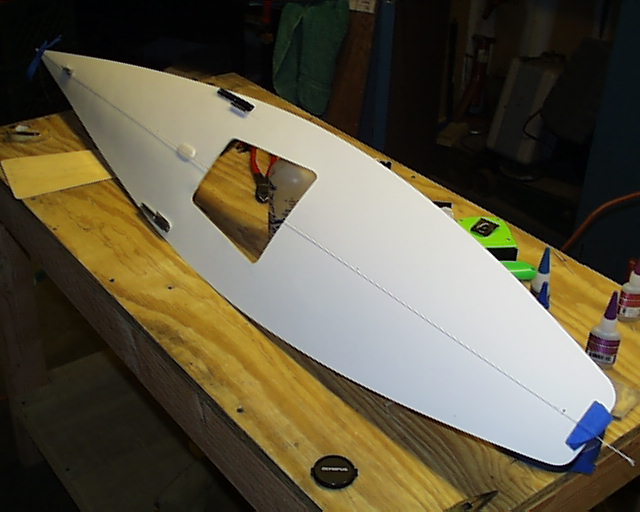
2. Prep work inside of the hull. A. Install sheetline shaft retainer. B. Sand flange. C. Mark and prep ballast.
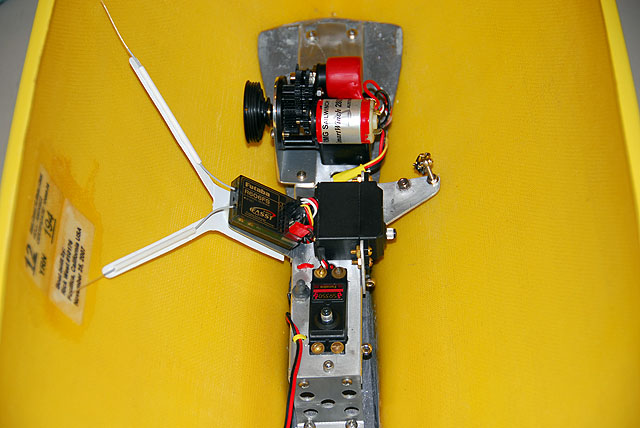
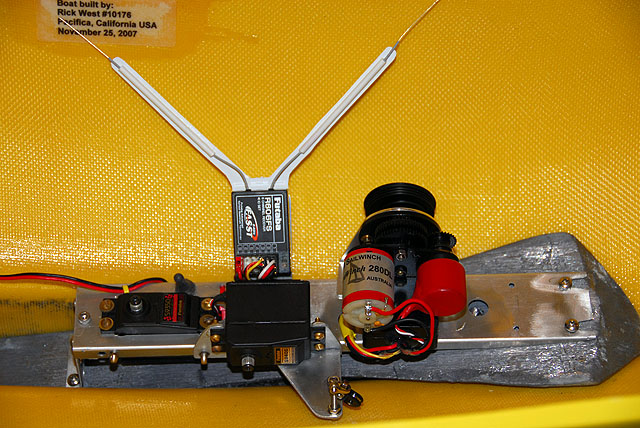
3. Build and assemble the Systems Board. A. Create the Chassis. B. Create the board mount. C. Assemble the System Board.
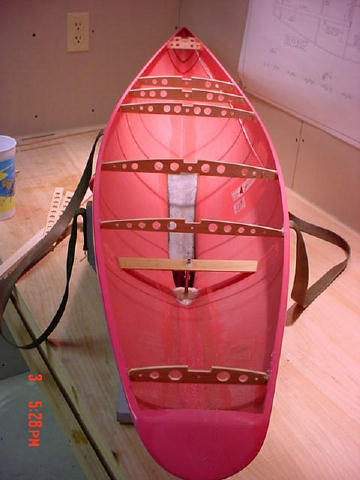
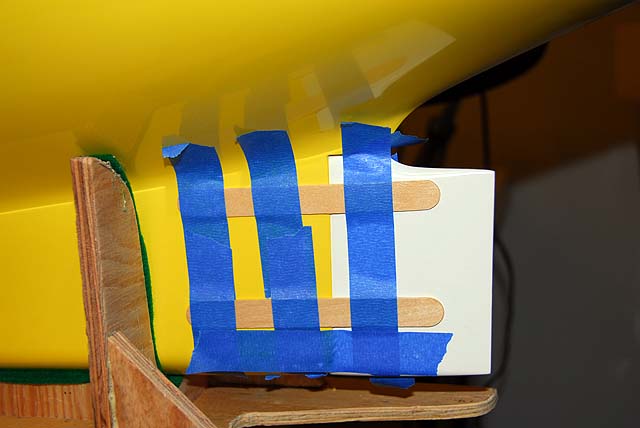
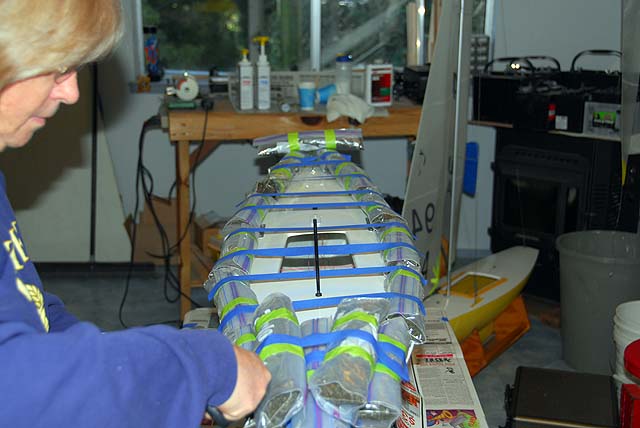
4. Install and glue in the ballast.
5. Install the Sheetline System to the System Board. A. RMG winch Set up. B. Create and install the Jib Trim Arm.
6. Install the rudder. A. Install the rudder tiller and servo connections.
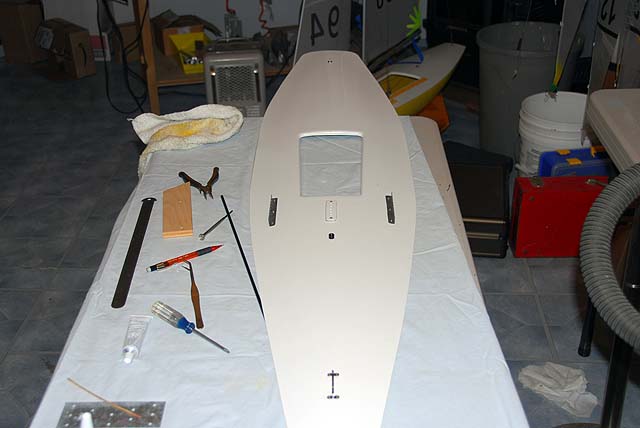
Steps 7 and 8 provide the process for Structured and Molding decks. 7. Prepare for the Deck. A. Mark the hull. B. Size the hull. C. Deck Hardware. D. Install Mainsheet Post.
8. Install the Deck.
9. Boat Reassembled and Operational.
This completes the interior work. There will be minor thing later.
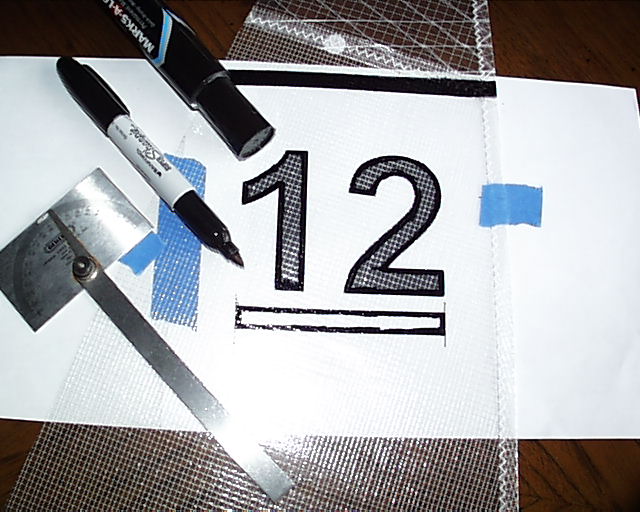
10. Sail Graphics.
Which sailing rig would you like, single or dual? See sections first.
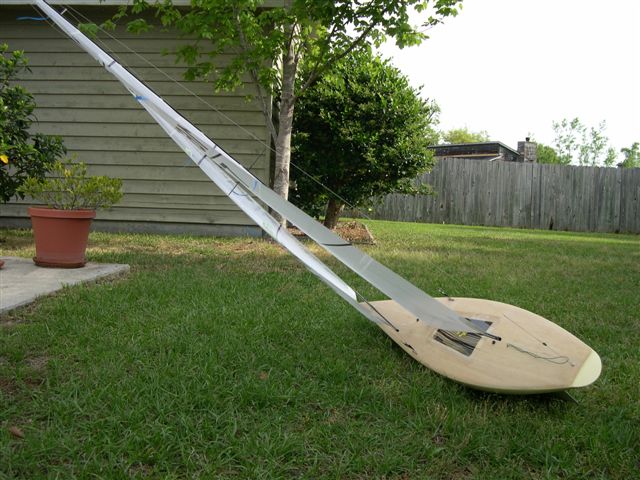
11. Single Spreader Goldspar Mast A. Mast rigging. C. Jibsail and boom. D. Rig assembly. E. Pre Tuning.
A. Mast preparation. B. Mast Rigging. C. Main Boom. D. Jib Boom.
13. Rig Assembly A. Goldspar rig. B. Round mast rig. __________Update Progress To this Point__________
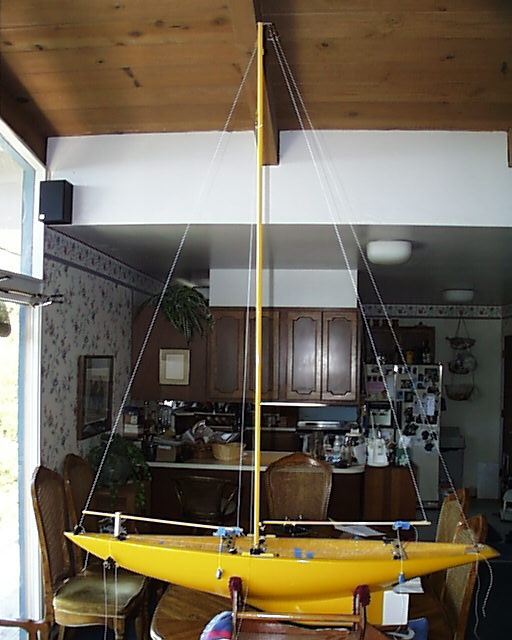
30. Stand the mast and complete the assembly of the rig. This will include installing the jib and the majority of sail controls. Prepare for a long session. It is helpful if this is completed in one continuous work effort.
31. Pre-Tune. All connections are complete and the rig is set to baseline tuning. This is another long session where continuity would be helpful.
32. It is time to finish all the additional items that you have working on the side. If you are going to tank the boat, this would be a good time and make whatever adjustments that are needed. If not, you are ready to go to the water. Check all your gear and get ready.
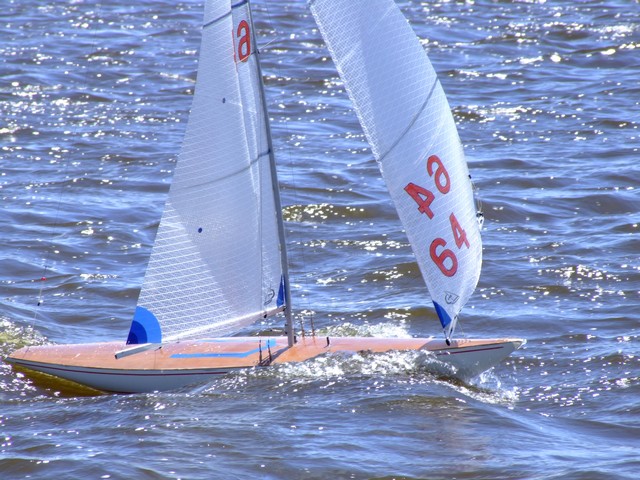
33. On the water. The Maiden Voyage.
You are done, Captain! It is hoped you enjoyed the cruise.
|