Heavy Weather
![]()
![]()
![]()
![]()
![]()
![]()
![]()
![]()
![]()
![]()
![]()
![]()
![]()
![]()
![]()
![]()
![]()
|
Heavy Weather
|
|
Last update, February 19, 2002
For When It Blows
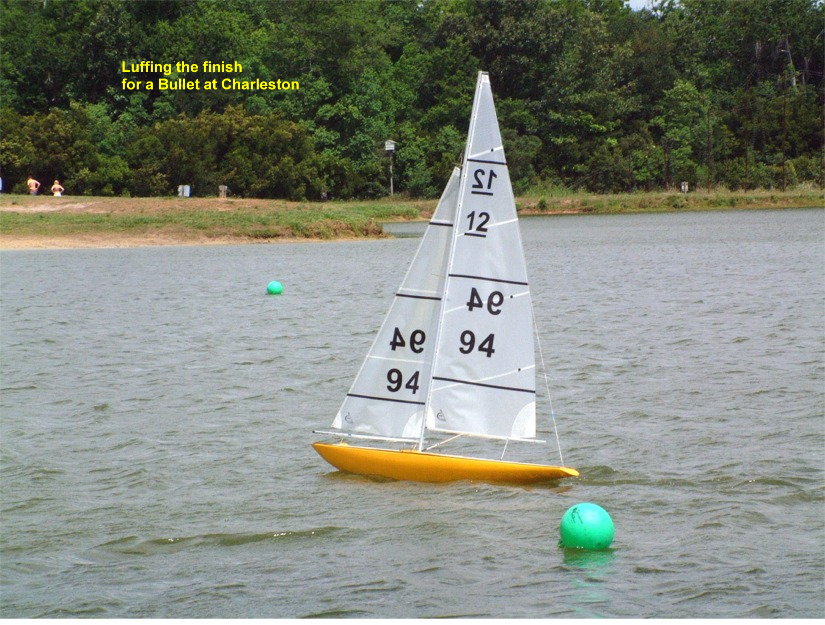
Photos by Karl Kirkpatrick, Charleston
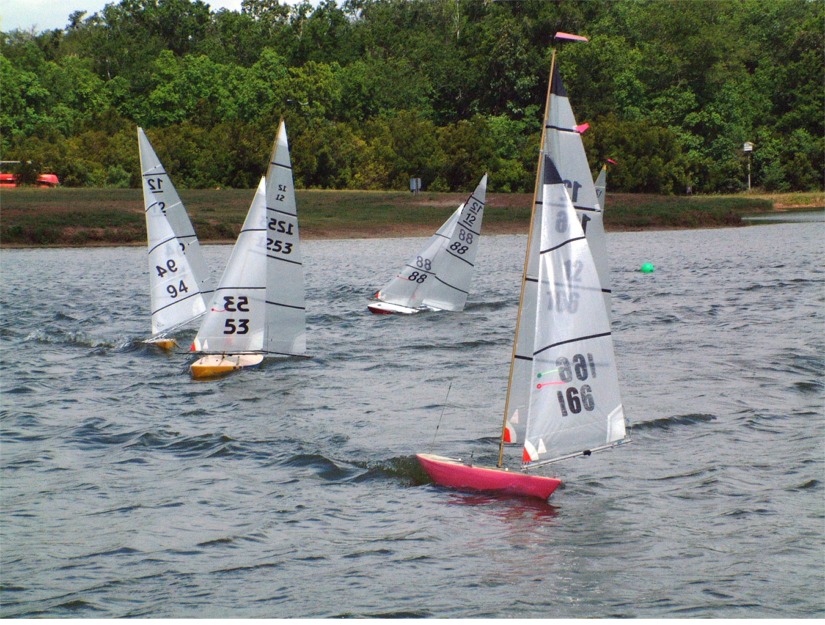
This page is dedicated to equipment and systems support for wind in excess of 15 mph and with related seas and a B rig in use. Subjects will include trim and rudder servos, rudder linkage and tiller, water intrusion and shroud clevis locks.
Upper and lower shroud tensions will be around 6 to 8 pounds and the lower/lowers very snug. These wires should be .018 stranded SS wire or slightly higher in solid SS wire. The forestay and the backstay should be the same. Pressure on the rig could reach 13 to 15 pounds. All connections should be secure, clean to the fastener and not frayed. Backstay tensions will be very high and likely around 5 pounds or higher depending on the sail cloth. Good bowsies and fresh line is needed.
It is likely that the jumper tension will be considerably more than normal due to the higher backstay tension. The jumper controls the shape of the upper mast and hence, the shape of the upper mainsail. DMYC has always used .015 stranded SS wire here. This has handled the stress, even when more fullness was wanted on B sail cloth.
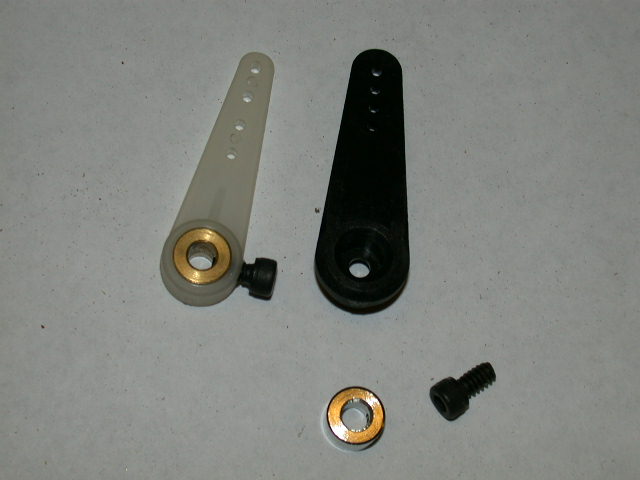
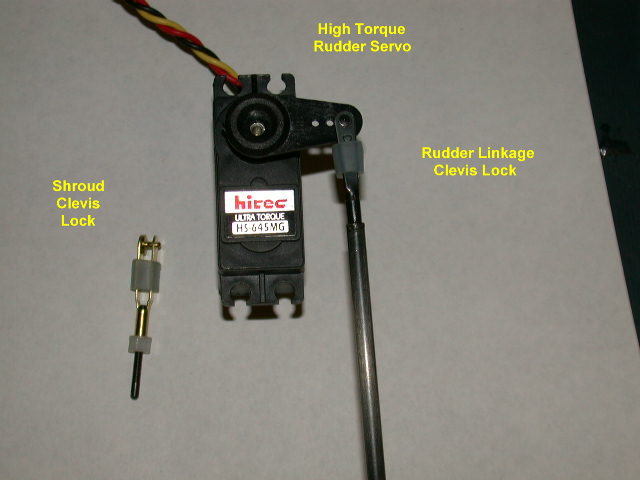
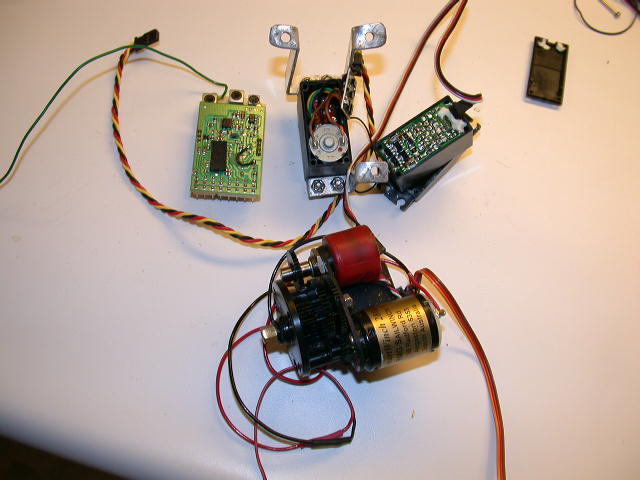
Most notable below is the rudder servo and the tiller. If you will be operating in heavy air a lot, the servo and connections in the Rudder section of this site will not be adequate. Albeit, the boat is overpowered in these cases, loss of control on a run is more to loss of rudder deflection by loss of rudder power (torque) than the boat being overpowered. When the boat becomes truly overpowered, but running straight to that point, the bow will dive and the rudder will come out of the water. It is best to NOT be overlapped with a boat when arriving at such an event.
Jib Trim Servo A 99 oz/in torque servo as listed in the Jib Trim Servo page is needed here, no less. The pressures on the jib are very high, not only because of the gale, but because often you are trimmed in to de-power the main. All aspects of the servo set-up and installation is suitable as shown. A trim range to point at the shroud rack (out) and nearly at the mast (in) is essential.
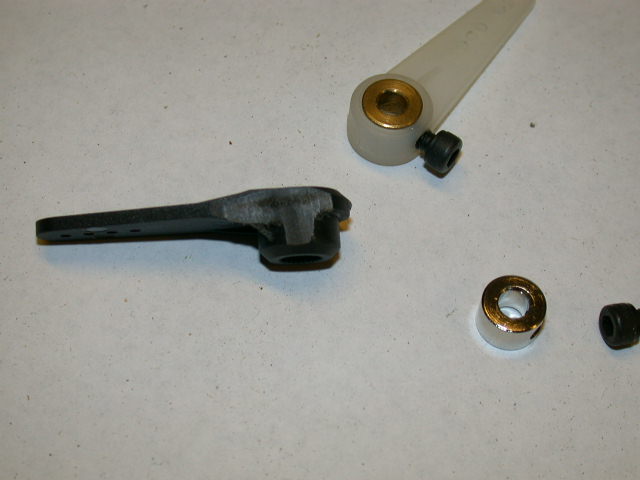
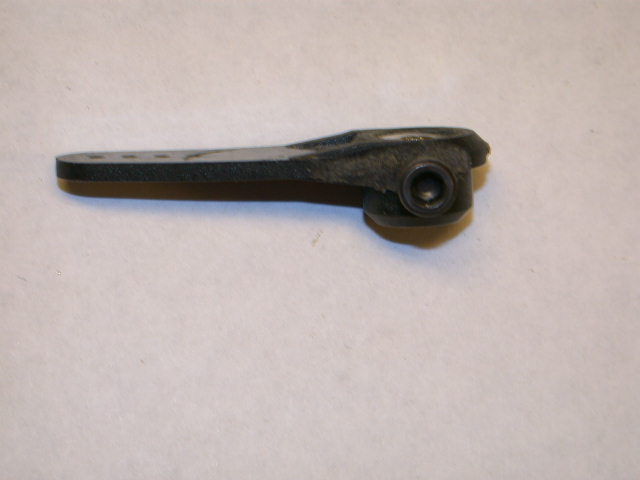
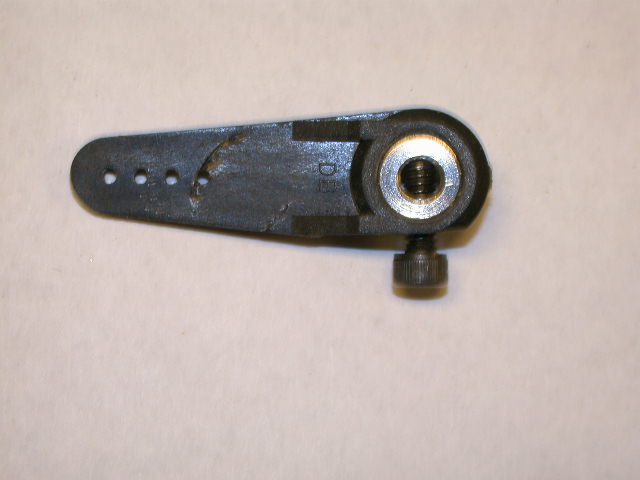
Rudder Servo and Attachments
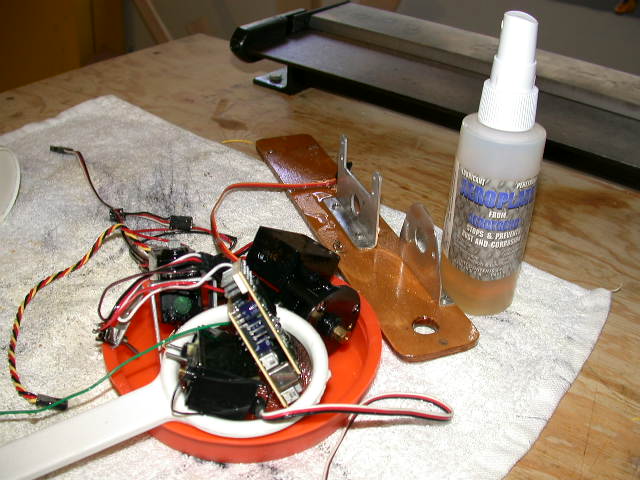
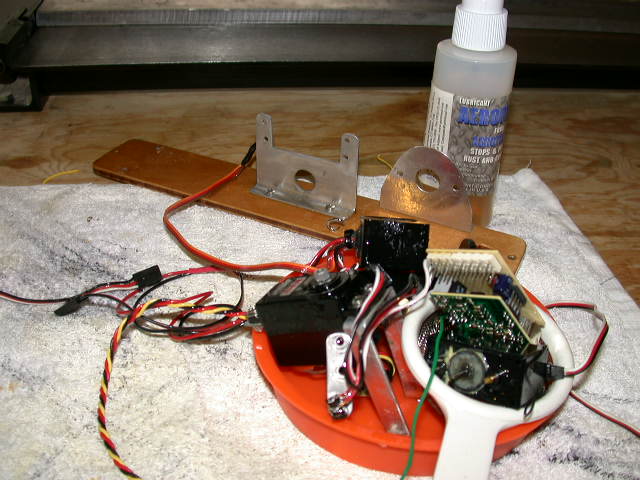
It is recommended that all onboard radio gear and connections be coated with Boeshield at West Marine. This can be part of seasonal preparations and certainly for Charleston, Lake Norman, Mystic and other high wind sites. The product is worth the cost. This is a dielectric oil that coats all things and protects the surface and electric properties.
Disassemble the receiver and all servos. Spray a liberal amount of Boeshield T-9 into the circuit board areas and allow to drain in a dish to recover the leftover oil for 15 minutes. Spray the winch whole without taking it apart. Reassemble without wiping. When the cases are closed wipe them off. Apply the same to the harnesses and all plugs. Apply to all clevis and coupling connectors on the rig and in the boat. T-9 will protect them from corrosion and saltwater damage. Re-install all electronics and test. It will work if you put it back together right. The company suggests this procedure once a season.
Hatches that leak are not good in heavy air and seas. Batteries fail, servos become restricted or quit when damp and receivers go nuts. A little water in the bilge gets to rolling around the sides of the hull and forward due to the pitching motions of the boat. Those that like to have their radio gear low with the ballast are the first to have symptoms.
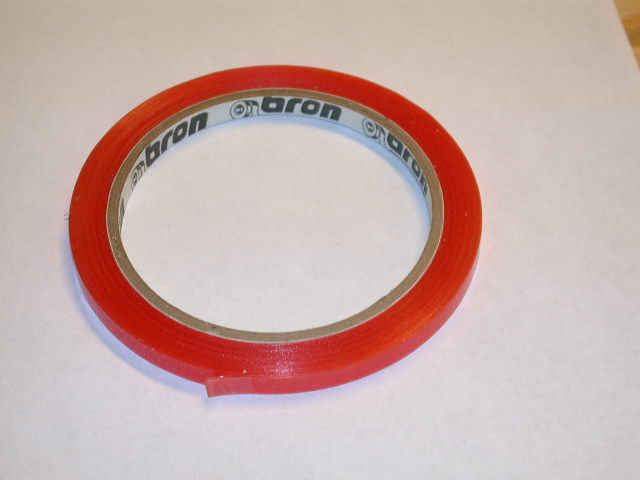
Double sided tape is the general product for securing hatch parts to the deck and to each other. It is important to make sure that all the surface is covered so no water can weep in through an opening absent of tape. The quality of tape is important so that it will adhere over some time in all weather and temperature. Such tape is not easy to find in retail outlets. Very often you have to go to the manufacturer and then to a distributor in your area. Tesa 4965 by JDS Industries and Bron BT-3854 D/F will hold a servo down (Not recommended, however) and can be easily replaced during the sailing season. Both have an 8 mil carrier for Polyester adhesive and rate a sticking power in the 70 oz/in range. This tape is also excellent for sealing foredeck entry ports to the bow turning block.
Make sure your lubricant/sealer on the rudder shaft is clean and fresh. All deck hardware should have Silicon sealant around holes. Light check your deck seal at night from inside the boat for any breaks in the seal. It can happen when you play bumper boats.
Concern arises when you have to race several heats at a time and cannot check the boats as you would normally. Things can happen and the higher the stress on the boat the more likely it will happen. New boats to the water are also very likely to leak as well as other equipment failures.
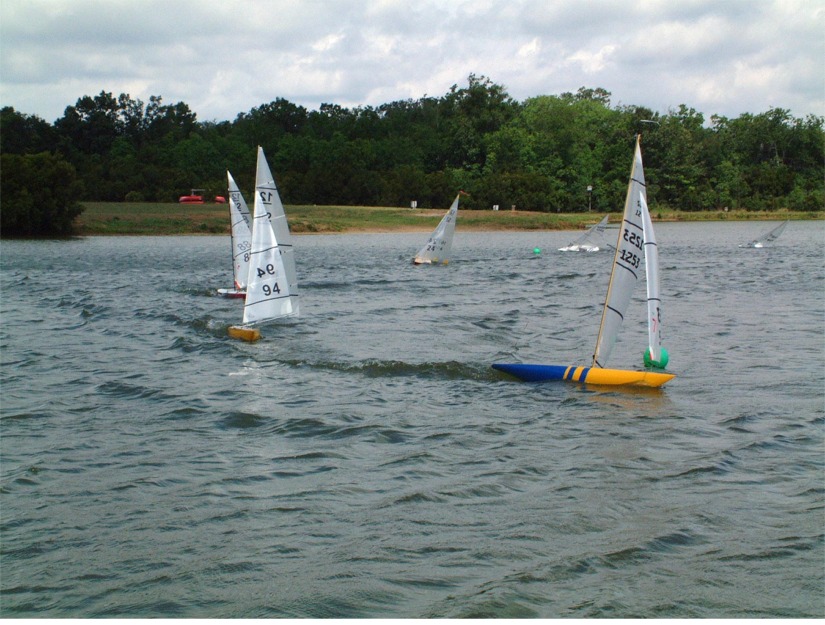
Trim and Weight This is a time to be at your maximum weight and near the 43" waterline limit. Additionally, if you trim for light and heavy air with Baby Foot, locate the piece in the aft keel section. Your trim angle should be at its maximum at about + 1 degree bow up. Note the boats above. They all have a positive trim angle.
Reminder in Sailing Techniques in sailing differ and you will have your own. However, this is a time that power is needed to plow through the waves. Power will give you speed over others. Remember, the heel angle should still be around 35 degrees like in all situations. This is best for the EC12. Learn to sheet out the sail, as a set, to get that heel. You will feel the balance of the boat as she runs free. She will be easy to handle so you can look around.
An EC12 that is close hauled in a blow and heeling at 40 degrees or greater will point. However, she will be a hand full at the tiller, not running on her lines, sliding sideways, lack power and quickly fall behind. A start in this set-up will be a disaster when maneuvering and room is needed in difficult conditions. |